
Welcome to Designers Choice. We know that turning a regular photo into a piece of art can be hard work.
As designers and creators, we understand the struggle of trying to get the colors just right. You want your images to look amazing, but you also want to save time. This is where lightroom presets come in to save the day.
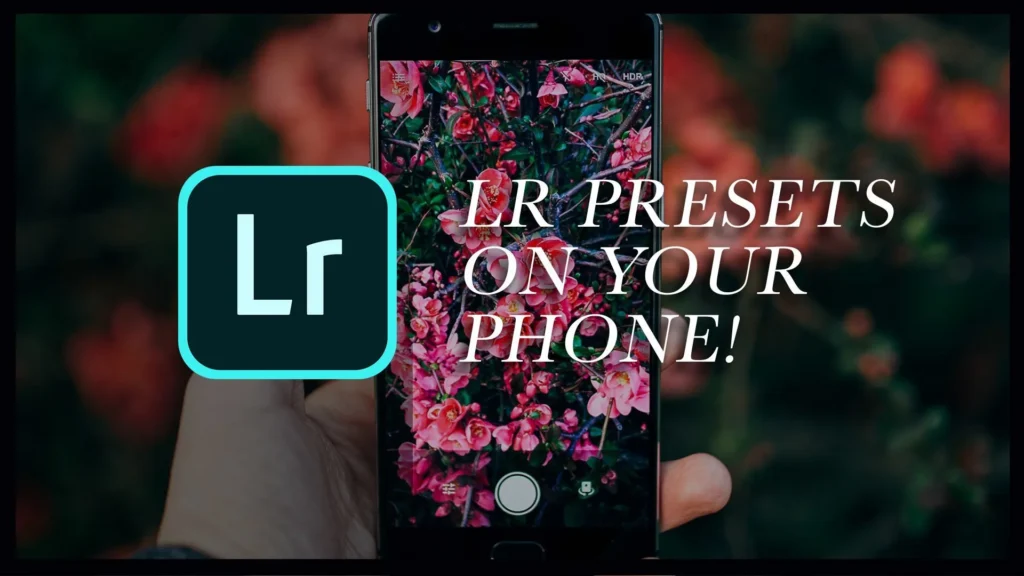
If you are reading this, you probably want to know how to add presets to lightroom mobile. Maybe you downloaded a preset pack and felt stuck. Don’t worry, you are not alone. Many people get confused about how to move files from a computer or a zip file into their mobile app.
At Designers Choice, our goal is to give you the best tools and knowledge. We want to help you bring your ideas to life. In this article, we will guide you through every single step. We will show you how to put free Lightroom presets on your phone and how to organize them.
Whether you use an iPhone or an Android, we have the answers. Let’s make your photos look professional with the Lightroom mobile app.
What Are Lightroom Presets?
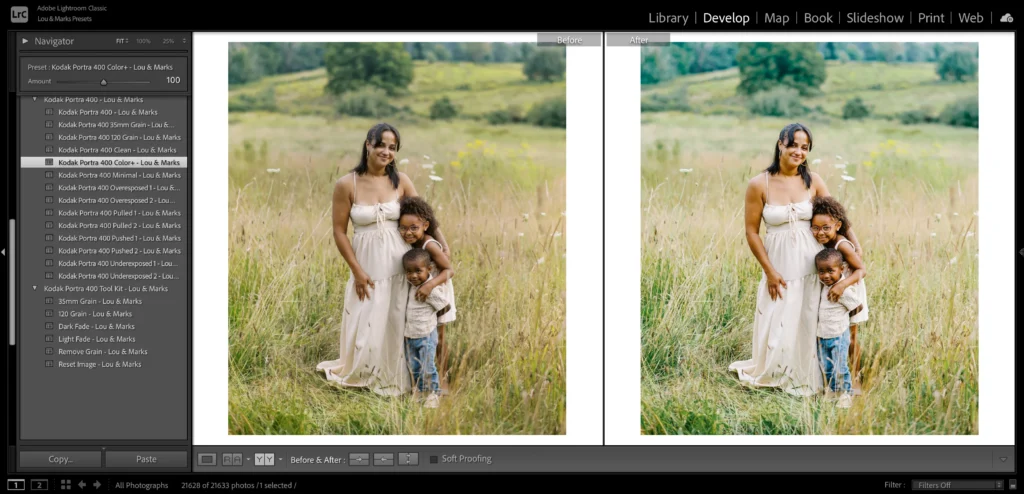
Think of a preset like a magic recipe for your photos. When you cook, a recipe tells you exactly how much salt or sugar to add.
In the Adobe Lightroom world, a preset does the same thing for your image. It is a saved group of settings.
When you take a photo, it might look a little dull. You could move every slider yourself to fix the brightness, contrast, and colors. But that takes a long time. With Lightroom presets, you click one button, and the app changes all those things for you instantly.
Professional photographers use presets to make their work look consistent. It helps them keep a specific style across all their images.
For example, if you look at a famous page on social media, you will see that all the photos have a similar look. They likely use the same presets.
You can use presets to make a photo look bright and airy, or dark and moody. You can even find winter options to make snow look white, or landscape elements to make grass look greener. The best part is that you can use these editing tools on your mobile device anywhere you go.
Understanding Lightroom Mobile Presets (DNG Vs. XMP)

Before we start the steps, we need to talk about file types. This is the part where many people get confused, so we will keep it simple.
There are two main types of files you will see when you look for presets.
- XMP Files: These are the standard files for Lightroom Classic and Lightroom Desktop. XMP files are very small text files that tell the computer what settings to use. If you use the Lightroom desktop app on your computer, you use the XMP format.
- DNG Files: This stands for “Digital Negative.” This is a special type of photo file. To the Lightroom mobile app, a DNG file looks just like a photo. However, this photo has the edit settings hidden inside it.
If you are using the free version of the Lightroom app, you cannot import XMP files directly.
You must use DNG files. When you download mobile presets, you are usually downloading a DNG image. You add this image to your Lightroom library, and then you copy the settings from it. This is the trick to get import presets to Lightroom Mobile for free.
How to Add Presets to Lightroom Mobile Using DNG Files (No Subscription Required)
This is the most common way to add presets if you do not pay for an Adobe subscription.
This works for the free app on both iPhone and Android.
Step 1: Download and Unzip the Preset Files on Your Phone
First, you need to get the files onto your phone. When you buy or download a preset pack, it usually comes as a zip file.
- Click the download button on the website or email where you got the presets.
- If you have an iPhone, the file will go to your Files app. If you are on Android, it usually goes to your “My Files” or “Downloads” folder.
- You cannot open a zip file in Lightroom directly. You must unzip it first.
- Go to your files app or file manager. Tap on the zip file. Your phone should automatically unzip it.
- Now you will see a folder. Open it, and look for files that end in “.dng“. These are your preset files. They might look like black or blank images in your folder. Do not worry; this is normal for DNG files.
If you have trouble downloading directly to your phone, you can download them to a computer first. Then, upload them to Google Drive or Dropbox. Open the Google Drive app on your phone and download the files from there.
Step 2: Import the DNG Files Into the Lightroom App
Now that the files are unzipped, it is time to open Lightroom Mobile.
- Open the Adobe Lightroom mobile app on your phone.
- Make sure you are in the Lightroom library view.
- Look at the bottom of the screen. You will see a blue button with a plus sign (+) and a photo icon. This is how you add photos.
- Tap that button. You want to add photos from your camera roll or files.
- If your DNG files are in your camera roll, select them. If they are in your Files app, tap “From Files” and locate the folder you previously unzipped.
- Select the DNG files. You can select more than one at a time.
- Tap “Add” or “Import.”
Now, you will see new photos in your “All Photos” list. They might have a little “RAW” badge on them. These are your mobile presets.
Step 3: Create and Save the Preset Settings
Currently, the preset is simply a photo in your library. We need to turn it into a saved preset so you can use it on other pictures.
- Tap on one of the DNG photos you just imported to open it in edit mode.
- Look at the top right corner of the screen. You will see three little dots. Tap on those dots.
- A menu will pop up. Look for the option that says “Create Preset.”
- Tap “Create Preset.” This will take you to the new preset screen.
- Here, you need to give your preset a name. Use the name from the pack, like “Summer Glow 01.”
- Below the name, you will see a spot for a preset group. By default, it might say “User Presets.”
- Tap on the preset group box. You can choose to save it in “User Presets” or create a new preset group. We suggest creating a new group to keep things organized.
- Select which settings to save. Usually, you leave all the boxes checked. This saves the light, color, and detail settings.
- Tap the checkmark icon at the top right corner to save.
Congratulations! You have successfully learned how to add presets to Lightroom Mobile. Repeat this step for every DNG file in the pack.
Step 4: Organizing Your New Presets Into Groups
If you download many presets, your list can get messy. Organizing them is key. When you are in the new preset screen, you see the create new preset group option. Use this! If you bought a “Winter Pack,” make a group called “Winter Pack.”
To manage them later:
- Open any photo in edit mode.
- Scroll to the bottom menu until you find the presets tab. Tap it.
- Tap the name of the group at the top of the presets panel.
- Here you can see all your groups. You can rename them or move presets around.
A good organization gives you instant access to the right look for your photo without scrolling forever.
How to Add Presets Via Desktop Sync (Creative Cloud Subscribers Only)

If you have a paid subscription and use lightroom classic or lightroom cc on your computer, this method is much faster. You do not need DNG files. You can use the XMP files.
Importing XMP Presets to Lightroom Desktop
- Open lightroom classic on your computer.
- Go to the develop module.
- Look at the left side for the presets panel.
- Click the plus (+) icon at the top of the panel.
- Choose “Import Presets.”
- Find the zip file or the unzipped XMP files on your computer.
- Click “Import.”
The presets will now appear in your list on the desktop.
Syncing Presets to the Mobile App Via the Cloud
This is where the magic of the Adobe account comes in.
- Make sure you are signed in with the same Adobe ID on both your computer and your mobile device.
- Ensure that sync is turned on in the top right corner of Lightroom Classic (click the little cloud icon).
- The computer will upload the presets to the cloud storage.
- Now, open Lightroom Mobile on your phone.
- Wait a few minutes. The app will talk to the cloud.
- Open a photo and go to the presets tab. Your new presets group from the desktop will automatically appear there.
This is very easy because you do not have to deal with DNG files or manual saving. It fixes the issue where Lightroom import presets are not showing up because the cloud does the work for you.
How to Apply Your New Presets to Your Photos?
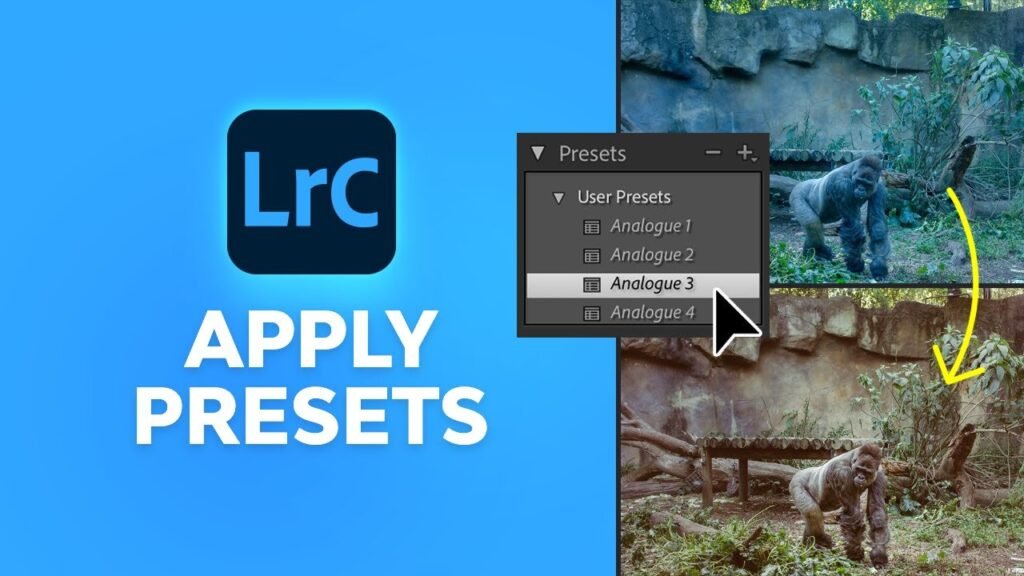
Now that you have learned how to use presets in Lightroom Mobile, let’s edit a photo!
- Open Lightroom and choose a photo from your library that you want to edit.
- Look at the toolbar at the bottom of the screen. You might need to slide the bar to the left to see more tools.
- Tap on the presets icon. It looks like two overlapping circles.
- This opens the presets panel.
- Tap the name of the group at the top to select your new group where you saved your presets.
- You will see a list of your presets. Tap on one to see how it looks.
- You can try different ones. Maybe “Vintage 1” looks better than “Vintage 2.”
- Once you pick one, tap the checkmark at the bottom of the screen.
After applying the preset, you can still make changes.
Maybe the photo is too bright. Go to the “Light” tab and lower the exposure. A preset is just a starting point. You can also use the versions of Lightroom features to save different edits of the same photo so you can compare them later.
Troubleshooting: Why Can’t I See My Presets?
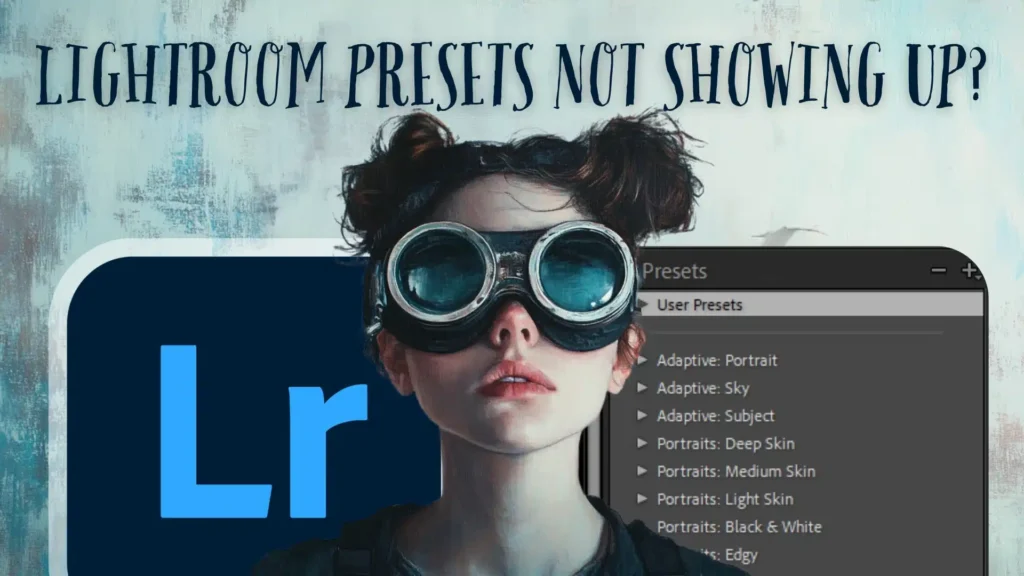
Sometimes things go wrong. If you are thinking, “can t import presets to lightroom mobile,” check these tips.
- “Lightroom import presets not showing up” Did you save them correctly? Remember, if you use the free app, you must open the DNG file and click “Create Preset.” Just adding the DNG photo to your Lightroom library does not add it to the presets menu automatically. You have to do the manual step.
- Wrong File Format: If you try to import XMP files or lrtemplate files directly to the mobile app without a subscription, it will not work. The free app on the phone only understands DNG files for importing settings. Lrtemplate files are very old files for older Lightroom desktop versions. You cannot use them on mobile.
- Sync Issues: If you are a subscriber and your presets from the desktop are not showing on the phone, check your internet. You need a good connection for the cloud storage to sync. Also, check that your Adobe account is the same on both devices.
- Search Issues Sometimes you just can’t find them. With the help of Adobe Sensei, Lightroom tries to organize things, but sometimes user presets get hidden. Check the “User Presets” group. Also, make sure you didn’t accidentally hide the group in the “Manage Presets” menu.
FAQ’s:
Do I Need A Paid Adobe Subscription to Use Presets on Lightroom Mobile?
No, you do not. You can use the free version of the app. You just need to follow the method using DNG files. You can get the app from the App Store (iPhone) or Google Play (Android) for free.
Why Are My Preset Files Showing Up As Black Or Blank Images?
This is very common. When you look at DNG files in your camera roll or files app, your phone might not know how to display them, so it shows a blank square. Do not worry. Once you open Lightroom and import them, the image will appear correctly.
Can I Use Standard Desktop (.xmp or .lrtemplate) Presets on the Free Mobile App?
Not directly. You cannot just copy an XMP format file to your phone and open it in the free app. You would need to use a computer to apply that XMP to a photo, export it as a DNG, and then send that DNG to your phone. Or, ask the seller for the mobile preset version (DNG).
Where Do My Presets Go After I Save Them?
They live inside the Lightroom app. When you are in edit mode, tap the presets tab. Tap the group name at the top. You will see your preset group list there. They are stored safely in the app data.
Will Adding Presets Lower the Quality Of My Photos?
No. Lightroom presets only change the settings (like contrast and color). They do not change the resolution or quality of your original image file. Your photos will remain sharp and high quality.
Conclusion
We hope this guide has helped you understand how to add presets to Lightroom Mobile.
At Designers Choice, we believe that everyone should have the ability to create beautiful images. Whether you are using import presets for Lightroom mobile iPhone methods or import presets for Lightroom mobile (Android) steps, the result is the same: stunning photos in less time.
By using preset files, you can turn a simple snapshot into a professional-looking image. You do not need to be a tech wizard. You just need to follow the steps to unzip the zip file, import the DNG files, and save your settings.
Now that your presets folder is full of great looks, it is time to get creative. Go out, take photos, and use your new editing tools. Remember to play with the settings. Use the auto option or auto settings if you get stuck, and then apply your preset.
Next Step: Would you like us to create a guide on how to make your own custom presets from scratch to sell or share with friends? Let us know!
Happy editing from the Designers Choice team.
