
At Designers Choice, we know how much fun it is to share your gaming skills with the world.
We are a team of passionate designers who love to help creators like you. We remember starting out and wishing for a place where we could find good advice and cool tools. That is why we built this site. We want to be the friends who help you make your stream look amazing.
We believe that every streamer has a unique style, and we are here to help you show it off.
When you start streaming, you want people to watch and stay. A great way to do this is by making your video look professional.
You do not need to be a computer expert to do this. We will show you how to use a webcam overlay to make your stream look its best. We have years of hands-on experience, and we want to share our top-quality products and trusted insights with you.
Our mission is to empower you to create the stream of your dreams. Let’s learn about webcam overlays together!
What is a Webcam Overlay and Why Do You Need One?
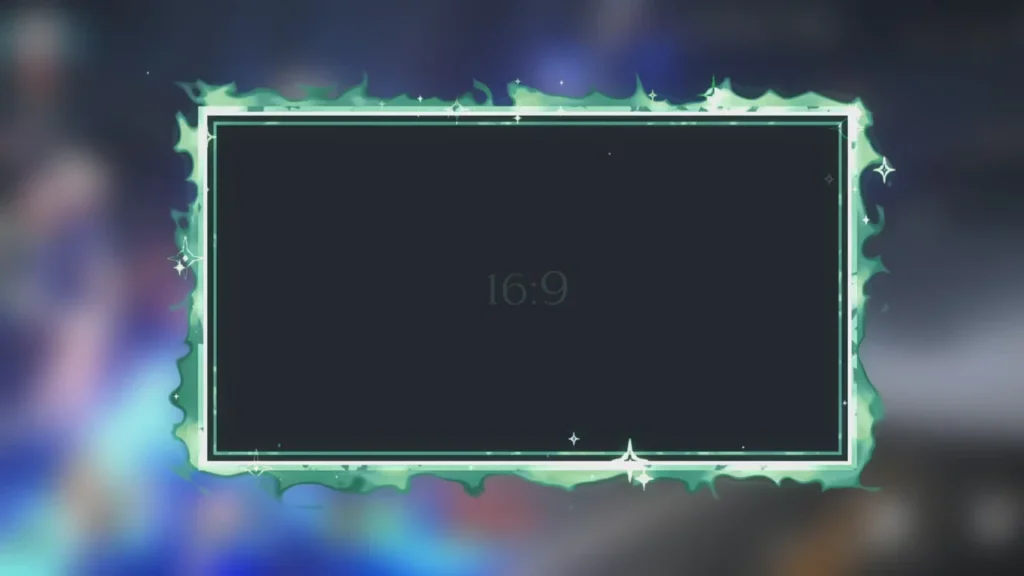
A webcam overlay is like a digital picture frame for your camera video.
When you watch a streamer on Twitch or YouTube, you often see a box around their face. That box is the overlay. It is a graphic image that sits on top of your video feed. It makes your camera look part of the game screen.
Without it, your video is just a plain rectangle floating on top of the gameplay. You need a Twitch webcam overlay because it helps you stand out. There are millions of streamers out there.
To get noticed, you need to look different. A nice border shows that you care about your channel. It makes your stream look complete.
It tells new viewers that you are serious about streaming. It is a small change that makes a big difference in how people see your content.
Enhancing Your Stream’s Visual Identity
Your visual identity is how your stream looks to others. It is your style. Think of your favorite cartoon or video game.
You can recognize it just by the colors and shapes, right? You want your stream to be the same. A webcam overlay helps you build this style.
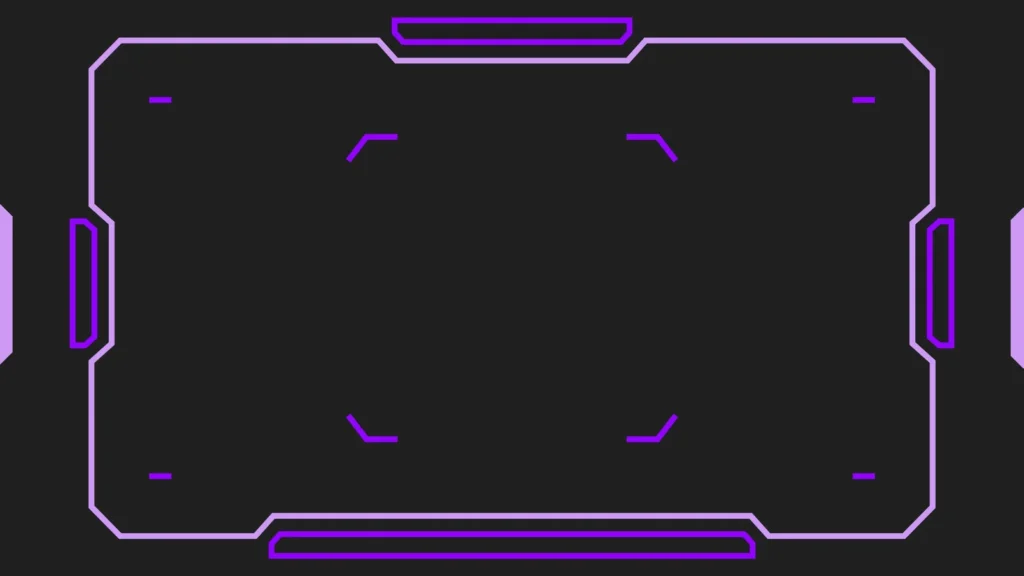
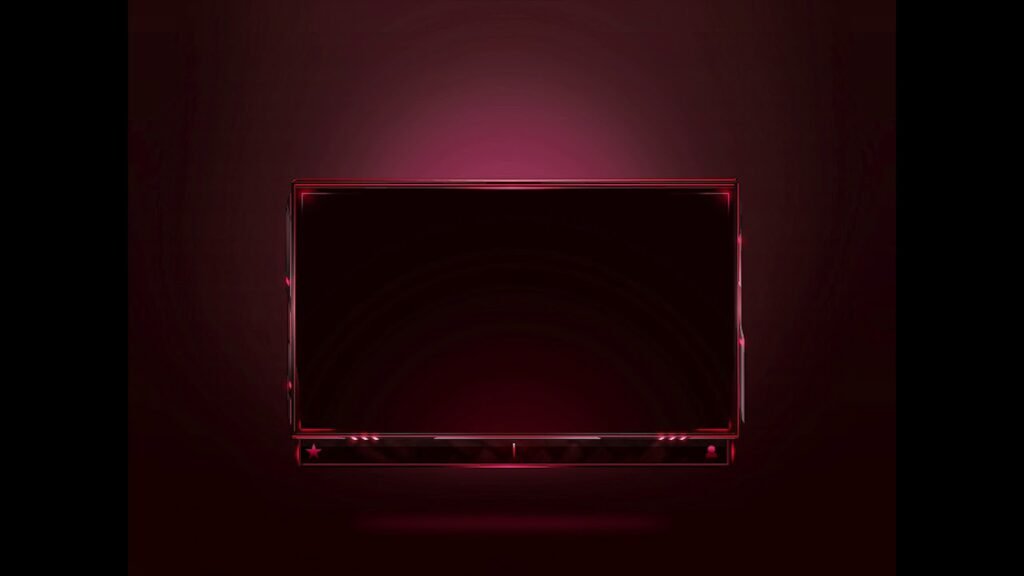
If you play scary games, you might want a dark, spooky frame. If you play fun, colorful games, you might want a bright, neon overlay.
This helps viewers know what kind of streamer you are just by looking. It builds a connection. When they see that frame, they know it is you.
You can match your overlay with your other stream overlays, like your banners and alerts. This makes everything look neat and planned.
The Difference Between Static and Animated Borders
There are two main types of overlays: static and animated. A static overlay is a still image. It does not move. It is like a photo frame.
These are good because they are simple. They do not take up much computer power. They are often saved as a PNG file.
An animated webcam overlay has moving parts. It might have glowing lights, spinning shapes, or a light effect that travels around the border.
These look very cool and futuristic. They catch the eye of the viewer. However, they can take a little more work to set up. They are usually video files. Both types are great, but you should pick the one that fits your computer and your style. If you want a simple look, go with static.
If you want to impress people with motion, try an animated one.
How to Design A Custom Webcam Overlay?
Designing your own custom overlay is a fun project. It lets you make something that is 100% you. You do not need to pay a lot of money to do this. You just need some creativity and a plan. We will guide you through the steps to make a design that fits your unique style.
Choosing the Right Resolution and Aspect Ratio
First, you need to know the size of your camera video.
Most webcams use a shape called 16:9. This is a rectangular shape, like a TV screen. Some cameras use 4:3, which is more like a square.
You must make your overlay frame match this shape. If you do not, the frame will cut off part of your face or leave empty spaces.
The quality of the image is also important. This is called resolution.
You want your overlay to look sharp, not blurry. A good size to start with is 1920×1080 pixels for a full screen, but your webcam box will be smaller.
When you design, make sure the lines are clear. High-quality graphics make your stream look HD.
Best Color Schemes to Match Your Brand
Colors are very important. They set the mood. If you use bright yellow and orange, your stream feels energetic.
If you use blue and purple, it feels calm or cool. When you pick colors for your overlay design, think about the games you play.
Also, think about your other graphics. Do you have a logo? Use the colors from your logo in your webcam border. This helps people remember your brand. A gradient is when one color fades into another. This can look very modern. A neon overlay uses bright, glowing colors that look like lights. These are very popular for gaming. Try not to use too many colors at once.
Pick two or three that look good together.
Using Canva Or Photoshop to Create Your Design
You can use different tools to make your overlay. Adobe Photoshop is a very strong tool. It has many features. You can make layers, add shadows, and create special effects. It is great for professionals. If you have experience, you can make very detailed vectors and graphics here.
If Photoshop is too hard, you can use Canva or Adobe Express. These are easier to use. They have templates you can start with.
You can drag and drop shapes and stickers. To make a frame, put a rectangle in the middle and cut it out so it is transparent.
This is where your face will go. Save your file as a PNG with a transparent background. This is very important. If you do not save it as a transparent PNG, you will have a white box over your face instead of a frame!
Where to Find the Best Free Webcam Overlay Templates?
Maybe you do not want to design one yourself. That is okay! There are many places to find free stream overlays. These are ready-made designs you can download and use right away. This saves you time and effort.
You can find a template that matches your vibe and start streaming in minutes.
Top Websites For Royalty-Free Stream Graphics
There are many websites that offer free resources for streamers. Some sites let you download a whole pack.
These packs often include a twitch overlay, a “starting soon” screen, and alerts. This helps you get a full stream layout at once.
Look for sites that offer “royalty-free” graphics. This means you can use them without paying every time or getting in trouble.
You can find simple frames, grungy styles, or clean interfaces. Some popular places include specialized graphic stores or community forums.
Always check if the file is a PNG or a video format, so you know how to use it.
Premium Vs. Free: Is A Paid Overlay Worth It?
You might wonder if you should pay for an overlay. A free webcam overlay is great when you are starting. It costs nothing and looks good.
However, many other people might use the same design.
A premium or paid overlay is usually unique. You can buy one that only a few people have, or hire a designer to make one just for you. Paid overlays often come with high-quality animated files and extra widgets.
If you want a very specific look, like a futuristic robot theme or a specific game style, paying might be better. But for most new streamers, a free overlay is perfect. You can always upgrade later when your Twitch stream grows.
How to Add A Webcam Overlay to OBS Studio Or Streamlabs?
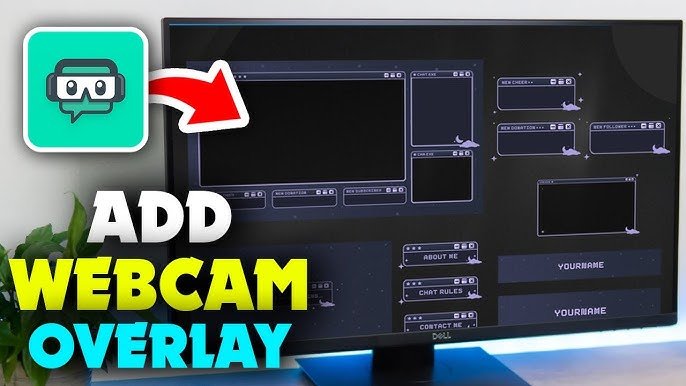
Now that you have your image or video file, you need to put it into your streaming software. Most people use OBS Studio or Streamlabs. These programs take your game, your camera, and your microphone and send them to Twitch or YouTube. Adding your overlay is a simple process.
Importing Your Image Or Video File As A Source
Open OBS or Streamlabs. You will see a box called “Sources.”
This is where you list everything you want to show on the screen. Click the plus (+) button to add a new source.
If your overlay is a picture (static), choose “Image.”
Then browse your computer to find your webcam overlay png file. Click okay. You should see your frame on the screen.
If your overlay moves (animated), choose “Media Source.” Find your video file. Make sure to check the box that says “Loop.”
This makes the animation play over and over again. If you do not check loop, the animation will stop after a few seconds.
Resizing and Positioning Your Camera Frame
Now you have your overlay on the screen, but it might be too big or too small. You need to make it fit your camera video. Make sure you have added your camera as a “Video Capture Device” source first.
Click on your overlay in the preview window. You will see red squares on the corners. Click and drag a corner to make it smaller or bigger.
Move it so it sits perfectly on top of your camera video.
It should look like a border. If your camera video is too big for the frame, you can crop the camera video. Hold the “Alt” key on your keyboard and drag the side of the camera box to cut off the extra parts.
Organizing Your Scene Layers Correctly
In the “Sources” box, the order of items matters. It is like a stack of papers. The item at the top of the list sits on top of everything else.
The item at the bottom is in the back. Your webcam overlay must be above your camera video in the list. If the camera is on top, it will cover the frame. If the frame is on top, it will cover the edges of the camera video, which is what you want. Make sure your gameplay capture is at the very bottom so it does not hide your face or your overlay.
Organizing your layout correctly keeps everything visible.
Tips For A Professional Webcam Overlay Setup
To make your stream look like a pro, you need to do more than just add a frame. You need to think about how it fits with everything else. A messy screen can confuse viewers. We want to help you create a clean and nice look.
Avoiding Clutter: Keeping the Focus on Gameplay
The most important part of your stream is the gameplay. People come to watch you play. Your camera and overlay should not be too big.
They should not hide important parts of the game, like the map or your health bar. Do not put too many things on the screen at once.
If you have a webcam overlay, a chat box, a recent subscriber alert, a donation goal, and a logo, the screen gets full.
This is called clutter. Keep it simple. A nice twitch webcam border and maybe one or two other widgets are enough. Let the game be the star.
Integrating Alerts and Chat Boxes With Your Frame
A smart way to save space is to combine things. Some overlay designs have spots built-in for other info. For example, the bottom of your webcam frame might have a small space to show the name of your latest subscriber.
You can also place your chat box near your camera. This makes it look like you are looking at the chat. When you design your stream layout, try to group things. This leaves more open space for the game graphics.
It makes the viewing experience better for everyone.
FAQ’s:
What is the Standard Size For A Webcam Overlay?
The standard size for the whole canvas is usually 1920×1080. But the webcam frame itself is usually 16:9 or 4:3. A common size for the frame graphic is around 400×300 pixels or 600×400 pixels, depending on how big you want your face to be on the screen.
Do I Need A Green Screen to Use A Webcam Overlay?
No, you do not need a green screen. A green screen removes the background behind you so only your body shows.
A webcam overlay is a border that goes around your video box. You can use an overlay with or without a green screen.
If you use a green screen, you can use a special “camera frame” or just put graphics behind you.
What File Format Should My Webcam Overlay Be?
For a still image, use a PNG file. PNGs allow for transparent backgrounds, so you can see the game through the empty middle part.
For an animated overlay, use a WEBM file. WEBM files are small videos that can also have transparent parts.
Can I Use A Webcam Overlay on Console Streaming (PS5/Xbox)?
If you stream directly from the console, it is very hard to add custom overlays. You usually need a capture card and a PC to add graphics like a Twitch overlay. Some services, like Lightstream, can help you add overlays to console streams, but using a PC with OBS is the best way.
Does A Webcam Overlay Affect Streaming Performance?
A static PNG overlay takes almost no power.
An animated webcam overlay takes a little bit of power from your computer (CPU and GPU). If your computer is old, stick to static images.
If you have a strong gaming PC, animated ones will work fine.
How Do I Add A Webcam Overlay to My Live Stream Using Streamlabs?
Open Streamlabs. Go to the “Sources” tab. Click the plus sign. Select “Image” for a still picture or “Media Source” for an animated video. Select your file from your computer. Move the layer above your camera source.
Can I Use Webcam Overlays For Both Twitch and YouTube Live Streams?
Yes! The overlay is part of your video feed. It does not matter if you stream to Twitch, YouTube, Facebook, or Trovo. The software (OBS) sends the same picture with the overlay to any platform you choose.
What is the Difference Between Static and Animated Webcam Overlays?
Static overlays do not move. They are simple images. Animated overlays have movement, like flashing neon lights or spinning borders. Animated ones grab more attention but use more computer resources.
Conclusion
We hope this guide helps you understand how to use a webcam overlay.
At Designers Choice, we want to see you succeed. Adding a simple border to your camera can change your whole stream. It shows you care about quality. It helps you build a community of fans who love your unique style.
Remember, you do not need to spend a lot of money. You can start with a webcam overlay free of charge or make your own.
Whether you want a grungy look, a clean gradient, or a good light effect, there is a design out there for you.
Take your time, experiment with different overlays, and find the one that fits you best. Your journey as a creator is just beginning, and we are happy to be a part of it. Go ahead, set up your new graphics, and bring your boldest visions to life!
