

Quick Answer: To use Figma, sign up for a free account, create a new design file, then use the Frame tool to start building your layout with shapes, text, and components. Frames are your canvas — start every design here. Auto Layout arranges elements automatically. Components let you reuse design elements. Figma AI helps suggest layouts and generate content. Follow the full step by step guide below.
Let’s be upfront about something — Figma has a learning curve. It is not as instantly pick-up-and-go as Canva. But that is not a reason to avoid it. Figma is the tool that professional UI and UX designers use every single day, at companies like Google, Airbnb, and Spotify. If you want to learn how to use Figma for beginners, you are making one of the smartest long-term decisions you can as someone interested in design.
This guide makes it simple. We break down every core feature into clear, numbered steps so you can go from a blank screen to a real working design without feeling lost. No prior design experience needed — just patience and a free account.
Before you start, read our full Figma AI review if you want a broader picture of what Figma offers. And if you are still deciding between tools, our article on the best AI UI design tools covers how Figma compares.
Getting Started with Figma
Step 1 — Create Your Free Figma Account
Go to figma.com and click Get started for free. Sign up with Google or your email address. Figma’s free plan gives you access to three design files and unlimited collaborators — more than enough to learn everything in this guide.
Once your account is set up, you land on the Figma home screen where your files and projects are stored.
Step 2 — Understand the Figma Interface
When you open a design file, the Figma interface has four main areas:
- Left panel — Layers and pages. This shows everything in your design as a list.
- Center canvas — Your working area. This is where you build your design.
- Right panel — Design properties. Colors, sizes, fonts, and effects appear here when you select something.
- Top toolbar — Tools for selecting, framing, drawing shapes, adding text, and more.
Take two minutes to click around before building anything. Knowing where things live makes everything faster.
Step 3 — Create Your First File
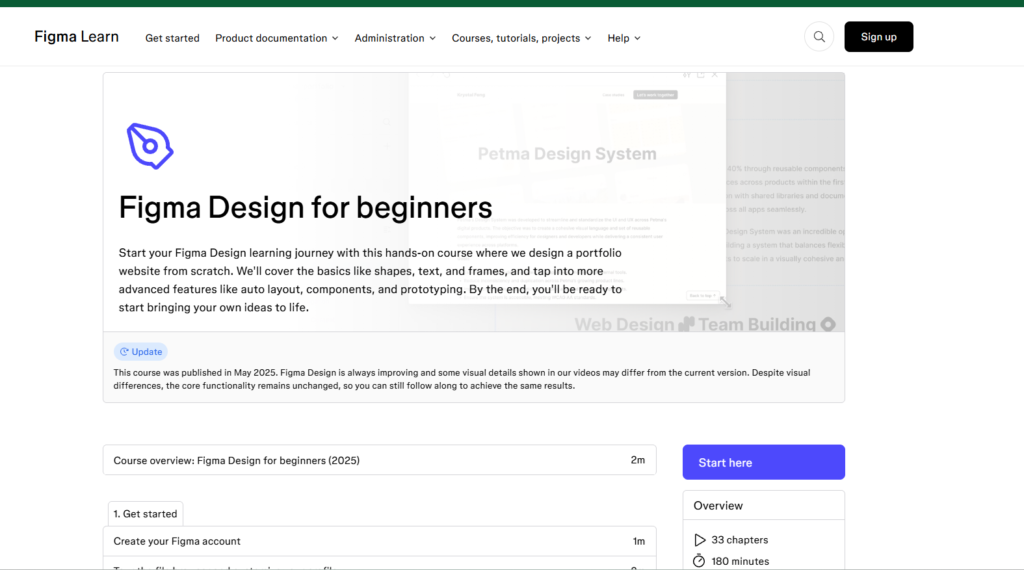
From the Figma home screen, click the New design file button in the top right. A blank canvas opens. This is your workspace. Everything you build lives on this canvas.
How to Use Frames in Figma
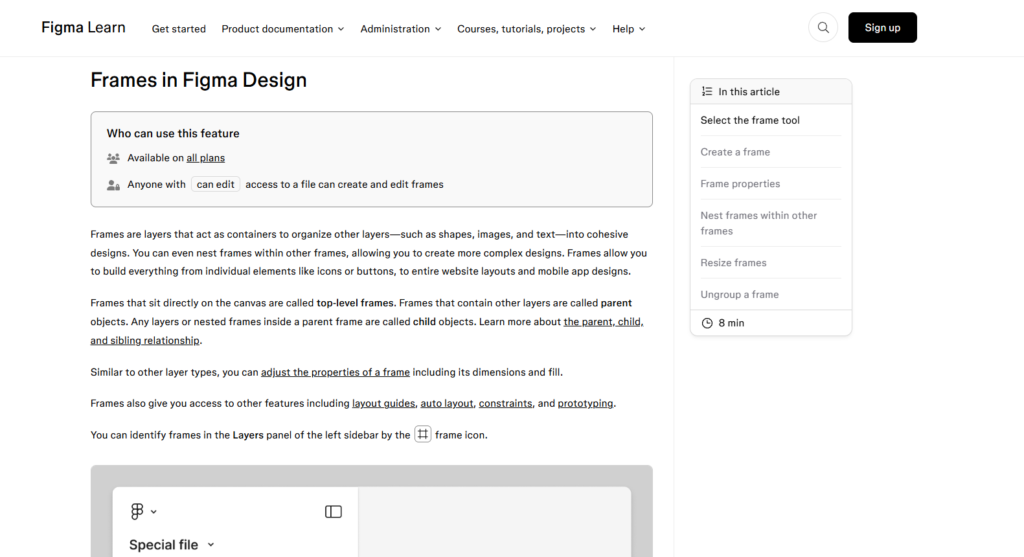
Frames are the foundation of every Figma design. Think of a frame as a container — it defines the boundaries of your screen, page, or component. You always start with a frame before adding anything else.
Step 1 — Select the Frame Tool
Press F on your keyboard or click the Frame tool in the top toolbar (it looks like a hashtag symbol). Your cursor changes to a crosshair.
Step 2 — Choose a Preset Size
Click anywhere on the canvas and drag to draw a frame, or look at the right panel after pressing F — Figma shows preset frame sizes for Phone, Tablet, Desktop, and social media formats. Click any preset and Figma draws the frame at the exact right size automatically.
For beginners, start with iPhone 14 or Desktop — both are common starting points for learning.
Step 3 — Name Your Frame
Double-click the frame name in the left panel (it will say “Frame 1” by default) and rename it something descriptive like “Home Screen” or “Landing Page.” Good naming habits make complex projects much easier to manage as you grow.
How to Add Shapes and Text
Once your frame is set up, you start filling it with content.
Step 1 — Use the Shape Tool
Press R to draw a rectangle, O for an oval, or click the shape tools in the top toolbar. Click and drag inside your frame to draw a shape. Once drawn, use the right panel to change the fill color, stroke, corner radius, and size.
Step 2 — Add Text with the Text Tool
Press T to activate the text tool. Click anywhere on your frame and start typing. Figma creates a text layer automatically. Select it and use the right panel to change the font, size, weight, color, and alignment.
Step 3 — Style Your Text and Shapes
With any element selected, the right panel shows all its properties. For shapes, you can change fill color, add a border (called a Stroke in Figma), adjust opacity, and add drop shadows. For text, you can set the font family, size, line height, and letter spacing. Spend time here — understanding the right panel is key to controlling your designs.
How to Use Auto Layout (Step by Step)
Auto Layout is one of Figma’s most powerful features — and one of the most useful for beginners once you understand it. It automatically arranges and spaces elements inside a frame so you do not have to manually position everything.
Step 1 — Select Elements to Group
Click the elements you want to group together — for example, an icon, a label, and a button. Hold Shift and click each one to select multiple elements at once.
Step 2 — Apply Auto Layout
With your elements selected, press Shift + A or right-click and choose Add Auto Layout. Figma wraps the elements in a new frame with automatic spacing applied.
Step 3 — Adjust Spacing and Direction
In the right panel, you will now see Auto Layout controls. You can set:
- Direction — horizontal (elements side by side) or vertical (elements stacked)
- Gap — the space between elements
- Padding — the space between the elements and the frame edge
Change these values and watch everything adjust instantly. This is the feature that makes Figma so much faster than manually moving things around.
How to Create and Use Components
Components are reusable design elements. You build something once — a button, a card, a navigation bar — and reuse it everywhere. When you update the main component, every copy updates automatically.
Step 1 — Select Element to Make a Component
Design the element you want to reuse — for example, a blue button with white text. Select it on the canvas.
Step 2 — Create Component
Right-click the selected element and choose Create component, or press Ctrl + Alt + K (Windows) or Cmd + Option + K (Mac). The element turns purple in the layers panel — this means it is now a main component.
Step 3 — Reuse Component Instances
Open the Assets panel in the left sidebar (the grid icon). Find your component listed there. Drag it onto your canvas to create an instance — a linked copy. Edit the main component and all instances update. Edit an instance to override just that one copy without affecting the others.
How to Use Figma AI Features
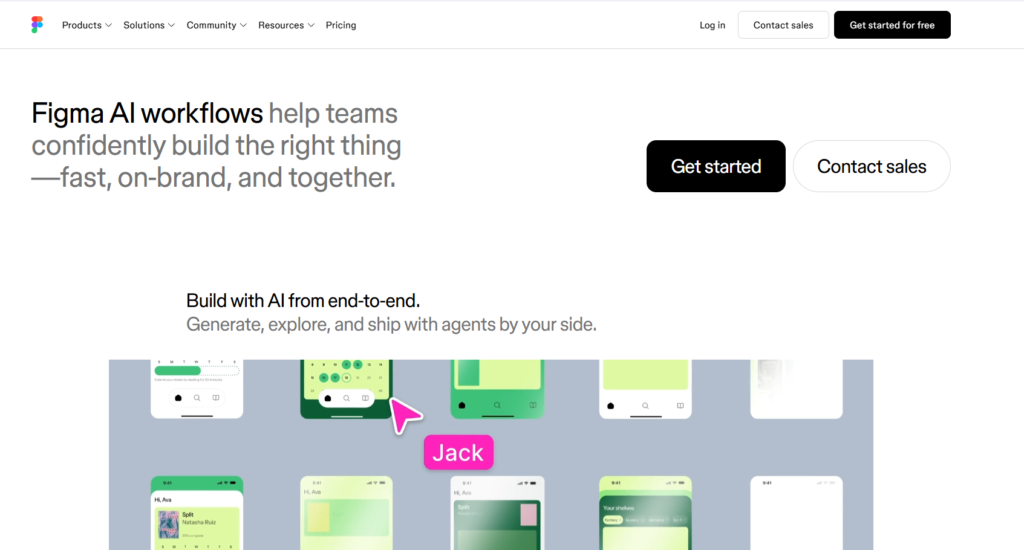
Figma has been adding AI features that make the design process faster, especially for beginners who are still learning layout and structure.
Step 1 — Access AI Design Suggestions
In the right panel, look for the AI options when you have a frame or element selected. Figma AI can suggest layout improvements, generate placeholder content, and help you rename layers automatically.
Step 2 — Use AI to Generate Content
Figma AI can fill your designs with realistic placeholder text, images, and data. Select a text layer and look for the AI fill option in the right panel. This is useful when you want to see what a design looks like with real-looking content instead of “Lorem ipsum.”
Step 3 — Apply AI Suggested Layouts
When working on a new frame, Figma AI may suggest layout options based on the content you have added. These appear as subtle prompts in the editor. Click any suggestion to apply it — you can always undo if it does not look right.
How to Prototype Your Design
Prototyping lets you connect your frames and simulate how a real app or website would work — with clickable buttons, transitions, and navigation.
Step 1 — Switch to Prototype Mode
In the top right of the editor, click Prototype (next to Design in the right panel). The interface shifts to prototype mode — you will see blue connection handles appear on your frames.
Step 2 — Connect Frames with Interactions
Hover over a button or element in your design. A blue circle appears on its right edge. Click and drag that circle to another frame to create a connection. A blue arrow appears showing the link. In the right panel, you can set the interaction type — on click, on hover, and so on — and choose a transition animation.
Step 3 — Preview Your Prototype
Click the Play button in the top right corner. Figma opens a preview window where you can click through your design as if it were a real app. Share this preview link with anyone — they can interact with it in their browser without needing a Figma account.
Tips for Beginners Learning Figma
Getting started is the hardest part. These habits will speed up your learning significantly:
Start with Figma Community templates. Go to the Figma Community tab on the home screen and search for beginner templates. Duplicate one and study how it is built — this teaches you more than any tutorial.
Learn keyboard shortcuts early. F for frame, T for text, R for rectangle, V for select. A handful of shortcuts make Figma feel much faster within your first week.
Practice with small, real projects. Do not start with a full app design. Start with one screen — a login page or a simple card layout. Finish something small and build from there.
Use the Figma YouTube channel. Figma’s official tutorials are genuinely good and free. Spend 20 minutes watching their Auto Layout video and it will click much faster than reading about it.
Common Figma Problems and Solutions
| Problem | Solution |
| Elements not aligning properly | Select all elements and use the alignment tools in the top toolbar, or apply Auto Layout |
| Cannot find a tool | Press Shift + / to open the Figma command search and type what you need |
| File loading slowly | Reduce the number of high resolution images in your file — compress before uploading |
| Components not updating | Check if you edited an instance instead of the main component — main components show a purple icon |
Final Thoughts
Figma has a learning curve — but it is absolutely worth it. Once you understand frames, Auto Layout, and components, you can build almost anything. And those three concepts are learnable in a week of regular practice.
The key is to keep building real things. Do not just follow tutorials — make something for yourself. A personal portfolio page, a simple app concept, a redesign of your favorite website. Real projects teach you faster than exercises.
For more on what Figma’s AI features can do, read our full Figma AI review. When you are ready to learn another tool alongside Figma, our guide on how to use Canva AI is a natural next step — the two tools complement each other well. And if you are comparing your options, check out our best graphic design tools for beginners for the full picture.
Frequently Asked Questions
Q: Is Figma hard to learn for beginners? Figma has a moderate learning curve compared to tools like Canva, but it is very learnable with consistent practice. Most beginners get comfortable with frames, shapes, and text within a few hours. Mastering Auto Layout and components typically takes one to two weeks of regular use.
Q: What is the first thing I should learn in Figma? Learn frames first. Frames are the foundation of every Figma design — they act as your canvas and define the size of your screen or page. Once you understand frames you can add shapes, text, and images inside them and start building real designs.
Q: What is Auto Layout in Figma? Auto Layout is a Figma feature that automatically arranges and spaces elements within a frame. When you apply Auto Layout to a group of elements, they adjust their spacing and position automatically when you add, remove, or resize content. It saves a huge amount of time compared to positioning things manually.
Q: Can I use Figma for free? Yes. Figma’s free plan allows up to three design files with unlimited collaborators. That is more than enough for beginners learning the tool. The free plan includes access to all core features including frames, components, Auto Layout, and basic AI features.
Q: What is the difference between a component and a frame in Figma? A frame is a container that holds your design elements and represents a screen or section of your design. A component is a reusable design element — like a button or card — that you can use multiple times throughout a project. Update the main component and all copies update automatically.
Q: How long does it take to learn Figma? Most beginners can learn the basics within one to two weeks of regular practice. Frames, shapes, and text take just a few hours. Auto Layout and components take a bit longer. Becoming comfortable enough for professional UI design work usually takes one to three months of consistent use.
Q: Does Figma have templates for beginners? Yes. Figma Community has thousands of free templates created by other designers that beginners can duplicate and learn from. Starting with a template and studying how it is built is one of the fastest ways to understand how Figma works in practice.
Q: Can I use Figma on a Chromebook or tablet? Yes. Figma is browser-based and works on Chromebooks since it runs entirely in a web browser without installation. A mobile app is available for tablets but is more limited than the desktop experience. For serious design work, a laptop or desktop gives you the best Figma experience.
