As a designer, you know the power of personalization. Whether you’re creating certificates, name tags, or custom social media graphics, the ability to produce tailored designs at scale is a game-changer.
At Designers Choice, I’ve spent years refining workflows to help fellow professionals turn creative ideas into reality-without sacrificing quality or efficiency. Canva’s mail merge, powered by the bulk create feature, is one of the most effective tools for automating design personalization.
This guide will walk you through every step, from preparing your spreadsheet to generating bulk certificates and beyond, using keywords like csv file, upload data, dynamic fields, and more.
What is Canva Mail Merge?
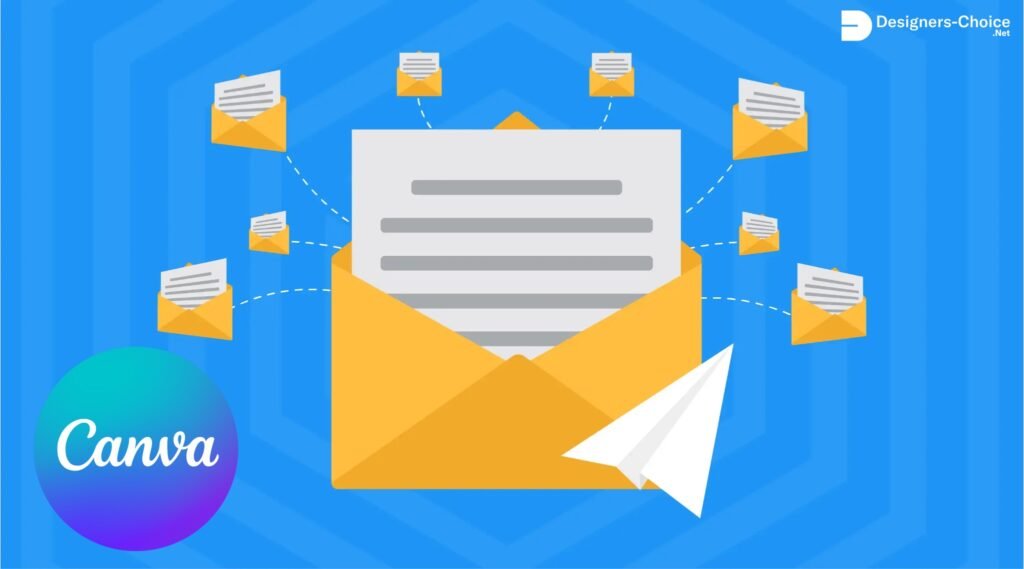
Canva mail merge is a process that lets you automatically fill in personalized details-like recipient’s name, email address, or job title-across multiple designs using a single template and a data source such as an excel spreadsheet or csv file. This approach is ideal for professionals who need to create bulk certificates, business cards, invitations, or any design where each copy needs unique information.
Understanding the Bulk Create Feature
The bulk create app in Canva Pro and Canva Teams enables you to upload data from a csv file, google sheets, or manually entered spreadsheet, and then connect each data field to text boxes or image frames in your canva template.
This means you can generate dozens or even hundreds of personalized designs in just a few clicks.
Benefits of Using Mail Merge in Canva
- Save time by automating repetitive design tasks.
- Ensure accuracy by pulling the recipient’s name, last name, email address, and more directly from your spreadsheet.
- Produce professional, consistent results across all your templates.
- Easily download your bulk designs as PDF files or images for email, print, or sms distribution.
Getting Started With Canva Mail Merge
Starting with Canva Mail Merge is easier than you think.
Prerequisites For Using Canva Mail Merge
- Access to Canva Pro, Canva Teams, Canva for Education, or Canva for Nonprofits.
- Your data is organized in a spreadsheet, with separate columns for each data field (e.g., first name, last name, email address).
- A Canva template ready for dynamic fields.
Accessing the Bulk Create Tool in Canva
- Open your design in Canva on desktop.
- Go to the editor side panel, select Apps, then find the Bulk Create app under More from Canva.
- For Canva Sheets users, you can start bulk create directly from your selected data range.
Preparing Your Data for Mail Merge
Creating A Spreadsheet With Your Data
Start with a spreadsheet in excel or google sheets. Each row should represent an individual recipient, and each column should represent a dynamic field such as first name, last name, email, or course name. Save or export your spreadsheet as a csv file for easy upload.
Formatting Requirements For CSV Files
- Use clear headers for each column (e.g., first name, last name, email address, certificate title).
- Avoid special characters that might interfere with mail merge.
- Ensure there are no blank rows or columns in your csv file.
Manually Entering Data in Canva
If you have a small list, you can manually enter data within the bulk create app. Click on the table, add your dynamic fields, and input recipient details directly- ideal for quick projects like name tags or small batches of certificates.
Designing Your Template
Adding Placeholders To Your Design
In your Canva template, add text boxes or image frames where you want personalized information to appear. Label each placeholder clearly so you can easily connect it to the correct data field during the mail merge process.
Best Practices For Template Creation
- Use separate text boxes for each dynamic field (e.g., one for first name, one for last name).
- Leave enough space for longer names or data entries.
- Test your template with sample data to ensure proper alignment and formatting.
Testing Your Template Design
Before running your full mail merge, preview your design with sample data. This helps catch issues with text overflow, image alignment, or formatting errors-saving time and ensuring your bulk certificates or business cards look professional.
Step-By-Step Guide To Canva Mail Merge
Setting Up Your Template
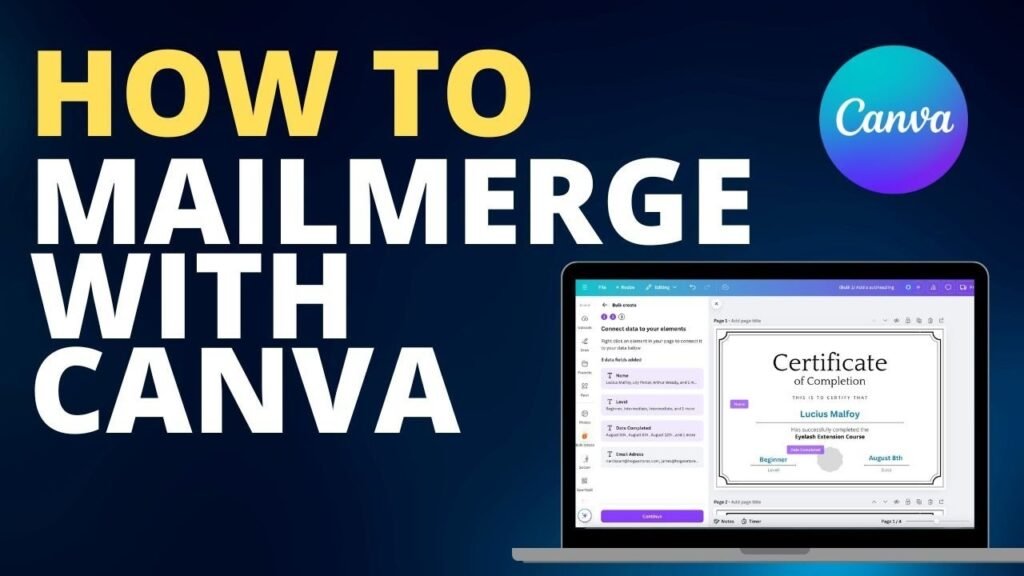
Start by opening your Canva template and adding text boxes or image frames where personalized details like first name, last name, or email address will go. Label each placeholder clearly (e.g., “Name,” “Course Title”) to match the data fields in your spreadsheet.
For certificates or name tags, ensure your design has enough space for longer names and aligns elements like logos or borders properly.
Uploading Your Data
Prepare your csv file or google sheets with separate columns for each dynamic field (e.g., “First Name,” “Email”). Save the file as a .csv or .xlsx format, then go to Canva’s bulk create app and click Upload Data. Select your file-Canva supports up to 300 rows and 60 columns per upload. For smaller projects, manually enter data directly into the app’s table.
Connecting Data to Design Elements
Click on each placeholder in your template (e.g., a text box for “Recipient’s Name”), then select Connect Data from the menu. Map it to the corresponding column in your spreadsheet, like linking the “First Name” column to the name field. Repeat for images by connecting image URLs from your CSV to frames in your design. Ensure headers in your spreadsheet match placeholder labels exactly to avoid errors.
Previewing and Editing Your Designs
Use Canva’s preview feature to check each design for issues like text overflow or image alignment.
Scroll through generated pages to spot mistakes-for example, a last name spilling outside a certificate’s text box. Adjust font sizes, frame dimensions, or spacing directly in the template, then re-preview until all elements look polished.
Generating Your Bulk Designs
Once satisfied, click Generate to create all designs at once. Canva will produce individual pages for each row in your spreadsheet.
Download them as PDF files for printing certificates or PNG images for social media posts.
For events, use Activity Messenger to send designs via email or SMS directly from the app.
Common Use Cases For Canva Mail Merge
- Creating Personalized Certificates: Mail merge is perfect for generating bulk certificates. It allows you to insert each recipient’s name, course title, and date automatically—ideal for workshops, events, or online courses.
- Designing Custom Business Cards: Upload data with separate columns for first name, last name, job title, and email address to quickly create professional business cards for your team or clients.
- Making Customized Invitations and Postcards: Personalize invitations or postcards with the recipient’s name, address, and event details-saving hours compared to manual editing.
- Producing Name Tags and Place Cards: Bulk create name tags or place cards for conferences, weddings, or events, with each guest’s name and table number dynamically inserted from your spreadsheet.
- Generating Customized Social Media Graphics: Use mail merge to create social media posts with personalized messages, names, or dynamic fields for marketing campaigns or client outreach.
Advanced Techniques
- Merging Images with Frames: Include image links in your CSV file to automatically populate frames in your Canva template with recipient photos, logos, or QR codes- ideal for certificates, badges, or branded graphics.
- Adding Links to Your Designs: Insert personalized URLs or email addresses into text boxes or buttons within your design. This is useful for email templates, certificates with verification links, or event invitations.
- Working with Large Data Sets: Canva’s bulk create supports up to 300 rows and 60 columns per upload. For larger projects, split your data into multiple spreadsheets and repeat the mail merge process.
Troubleshooting Canva Mail Merge
Common Issues and Solutions
Issue: Data doesn’t appear in your design after uploading a CSV file or Google Sheets.
Solution: Check if your dynamic fields (e.g., first name, last name) in Canva exactly match the column headers in your spreadsheet. For example, if your CSV uses “First_Name” but your template uses “First Name,” Canva won’t connect them. Rename headers or template placeholders to align.
Issue: The bulk create app shows errors like “Your designs didn’t get built.”
Solution: Reduce your data size. Start with 5-10 rows to test, then scale up. Remove extra columns or special characters (like commas in names) that confuse the system.
Data Formatting Problems
Problem: Canva ignores parts of your uploaded data.
Fix: Ensure your CSV file uses separate columns for each field (e.g., “First Name” and “Last Name” in two columns, not combined). Avoid blank rows or merged cells, as these disrupt the mail merge. Save files as .CSV or . XLSX-other formats like .ODS may fail.
Problem: Numbers or dates appear incorrectly.
Fix: Format all cells in your spreadsheet as “Text” to preserve leading zeros (e.g., “001”) or special date formats. Canva reads raw data, so mismatched formatting (like mixing text and numbers) causes errors.
Image Alignment Fixes
Problem: Images from your CSV file crop poorly or overflow frames.
Fix: Resize image frames in your Canva template to match the aspect ratio of your photos. For example, if your CSV links square profile pictures, use square frames-not rectangles. Adjust frames under the “Elements” tab before connecting data.
Problem: Text overlaps images after merging.
Fix: Use Canva’s alignment tools (Position > Align) to center text boxes or images. For complex layouts, add manual line breaks in your template to create space around dynamic fields.
By addressing these issues, you’ll streamline your bulk certificates, name tags, or social media graphics workflows, ensuring smooth merges every time.
Alternative Methods
Exploring other methods can make your design work more flexible.
Using Canva With Other Mail Merge Tools
For those needing to send bulk certificates, name tags, or invitations beyond Canva’s built-in features, tools like Activity Messenger bridge the gap between design and delivery.
After creating personalized templates in Canva Pro or Teams using dynamic fields and uploading data from a CSV file or Google Sheets, Activity Messenger lets you automate distribution via email or SMS while retaining your brand’s polish.
This integration ensures each recipient gets their customized design-like certificates with their first name and last name-directly to their inbox or phone, complete with tracking for opens and clicks.
It’s ideal for schools, events, or businesses wanting seamless workflows from Canva templates to real-world impact.
Comparing Canva Mail Merge to Microsoft Mail Merge
| Feature | Canva Mail Merge | Microsoft Mail Merge |
|---|---|---|
| Platform | Online (Canva Pro/Teams) | Desktop (Word/Outlook) |
| Design Flexibility | High (graphics, images) | Moderate (text-focused) |
| Data Sources | CSV, Google Sheets | Excel, Access, CSV |
| Output Formats | PDF, PNG, JPG | DOCX, PDF, Email |
| Best For | Visual designs, graphics | Letters, documents |
FAQ’s:
Can I Use Mail Merge in Canva For Free?
No, Canva’s mail merge (bulk create) is only available for Canva Pro, Canva Teams, Canva for Education, or Canva for Nonprofits users. Free accounts can’t access this feature, but you can start a free 30-day Pro trial to test it.
What Types of Documents Can I Create With Canva Mail Merge?
You can create personalized certificates, business cards, invitations, name tags, social media graphics, and more. Any design requiring unique details like first name, last name, or email address can be automated using a CSV file or Google Sheets.
How Do I Ensure My Data is Correctly Formatted For A Canva Mail Merge?
Use a spreadsheet with separate columns for each field (e.g., “First Name,” “Email”) and save it as a CSV file. Avoid blank rows, special characters, or merged cells. Headers should match placeholders in your Canva template exactly.
How to Send Certificates Through Email, Outlook, and Mail Merge?
After generating bulk certificates in Canva, download them as PDFs. Use Activity Messenger or Outlook’s mail merge to send them via email by linking your recipient list. Outlook requires attaching files manually, while Activity Messenger automates delivery.
Could I Use Canvas Messages Just Like Email?
No, Canva isn’t an email client. You can design email templates or certificates, then download and send them via Outlook, Gmail, or tools like Activity Messenger. For SMS, use third-party apps to distribute designs.
Conclusion
Canva Mail Merge, powered by the bulk create app, empowers designers to efficiently produce personalized, professional designs at scale.
From uploading your CSV file or Google Sheets, mapping dynamic fields, to downloading bulk certificates, business cards, and social media graphics, every step is streamlined for creativity and excellence.
Whether you’re working solo or as part of canva teams, this workflow saves time, reduces errors, and ensures your recipients receive designs tailored just for them. At Designers Choice, I’m passionate about helping you turn your boldest visions into reality-one bulk create at a time.
