
As passionate designers with years of hands-on experience, we created Designers Choice to be the resource we always wished we had—where expertise meets inspiration. We know the challenges of turning creative ideas into reality, from sourcing the perfect materials to staying ahead of design trends. That’s why we bring you a collection of top-quality products, innovative solutions, and trusted insights, all tailored for fellow professionals who demand the best. Our mission is to empower you to bring your boldest visions to life, backed by a community that values creativity, craftsmanship, and excellence as much as you do.
Today, we are going to talk about a very fun topic: how to add fonts to gimp. If you use this free software to draw or edit pictures, you already know it is a great tool. However, the basic letters that come with it might feel a little boring after a while.
To make your pictures look amazing, you need a new font. We will show you exactly how to get a new font and place it in your fonts folder so you can use it every day. This guide is written so that anyone can read it and learn how to add fonts to gimp.
Why You Should Learn How to Add Fonts to GIMP?
When you type words on a picture, the shape of the letters is called a font. Learning how to add fonts to gimp is a great skill to have. It gives you many new choices for your art. You do not have to stick to the same old typefaces anymore.
Elevating Your Graphic Design Projects
If you only use the default options, your art might look like everyone else’s art. A fresh, fun font makes your work stand out.
Whether you are making a birthday card or a poster for school, using the text tool with fresh styles makes everything look much better. When you add a great new font, your pictures tell a better story. Beautiful typefaces catch the eye of anyone who looks at your work.
Matching Brand Guidelines and Aesthetics
Sometimes, a company has rules about how their words should look. They might want a special serif style with little lines on the letters.
If you do not have their exact font files, you cannot match their rules. By keeping your gimp fonts updated, you can always pick the right style to match any brand or project. Having many font files ready to use makes you look like a real professional.
Preparation: Finding and Downloading Custom Fonts
The first step is to go on the internet and look for the files you need. You have to save them to your computer before you can use them.
Best Free Font Resources (Google Fonts, DaFont, etc.)
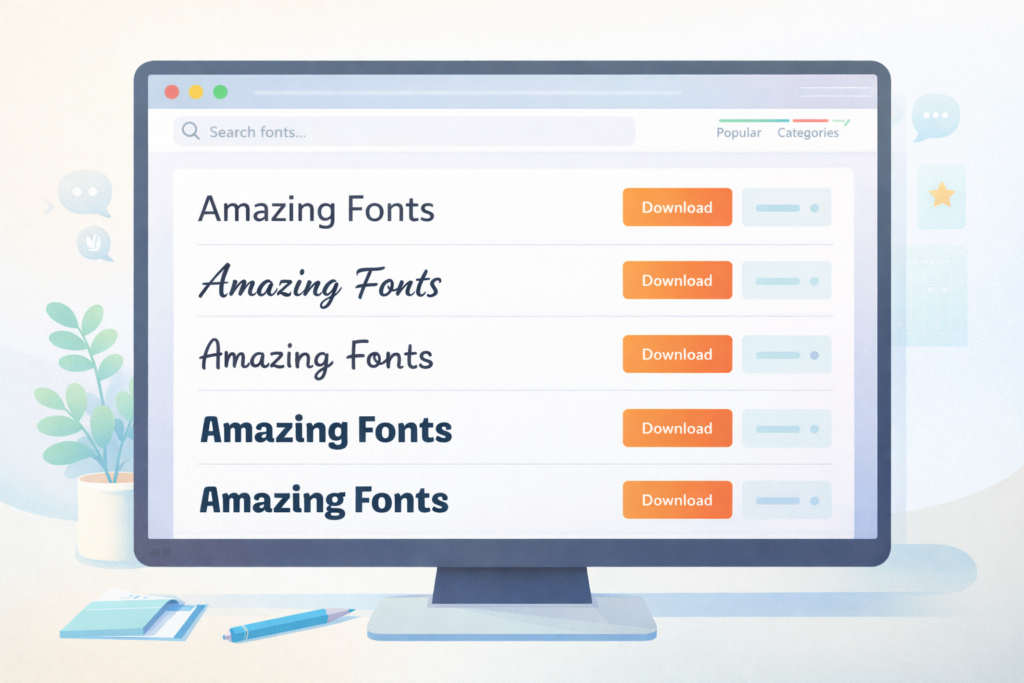
There are many amazing font websites where you can get free fonts. Some of the most popular places are Google Fonts and DaFont.
Just go to Google, type what you are looking for, and hit search. When you find a style you like, just click the download button. Always check if the downloaded fonts are marked for personal use only.
If they are for personal use, it means you cannot use them to make money or sell things.
Extracting ZIP Files Before Installation
When you click the download button, the computer usually gives you a zip file. A zip file is like a tight suitcase that holds your files inside so they take up less space. You cannot put a zip file straight into your fonts folder. You have to open it first.
To do this, right-click on the file and click “extract“. Once you extract it, a normal folder will appear. Open that folder, and you will see your actual font files. Most of the time, they will be a TTF file (TrueType) or an OTF (OpenType) file.
Step-by-Step: How to Add Fonts to GIMP on Windows
If you are using a PC running Microsoft Windows, your operating system makes it very easy to add these files. You have two ways to do this.
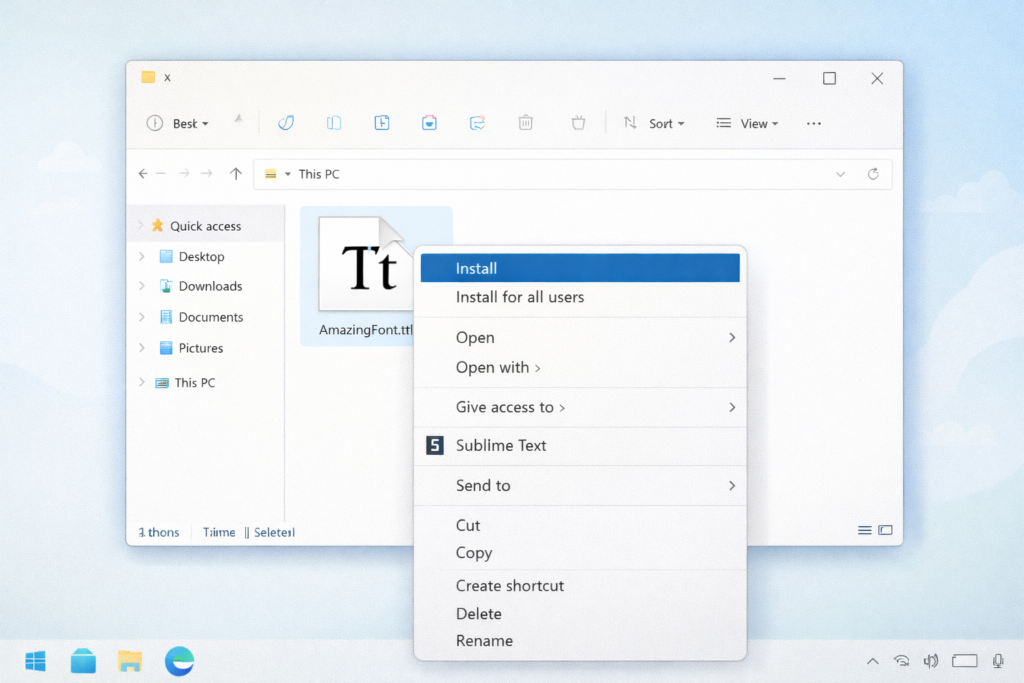
Method 1: Installing Fonts System-Wide (Recommended)
This is the best way because it lets all the programs on your PC use the letters. It will work for Adobe Photoshop, Inkscape, and Microsoft Word, too. First, open your file manager and find the TTF or OTF file you saved. Right click right on the name of the font. A menu will pop up. Click the word “Install“. The computer will copy it for you. The next time you open gimp, the style will be sitting in your font list, ready to go.
Method 2: Adding Fonts Directly to the GIMP Directory
If you only want this style for one program, you can drop it right into the personal gimp directory.
First, open your file manager and look for your gimp fonts folder. The file location is usually hidden in your user files. Once you find this special fonts directory, just drag the TTF file or OTF file and drop it inside.
When you open your software, it will check the fonts directory and load the letters.
Step-by-Step: How to Add Fonts to GIMP on Mac
If you use an Apple computer, your operating system is a little different, but it is still very simple.
Using the macOS Font Book
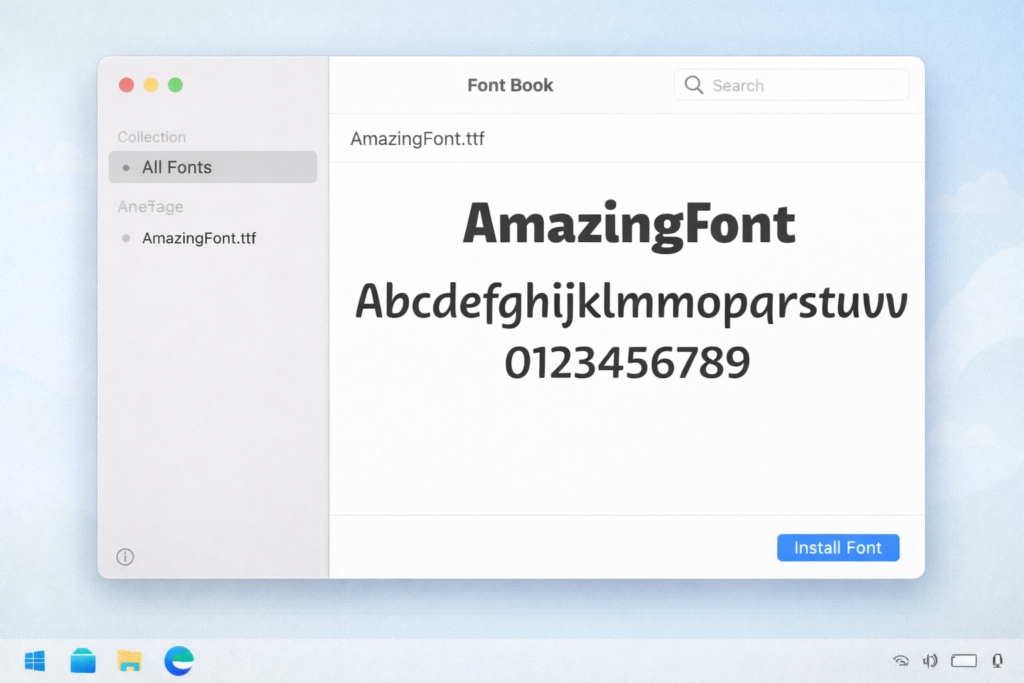
On a Mac, find the TTF or OTF file you saved. Double-click on it. A small window will open up.
This window gives you a nice preview of what the letters look like. It will also show you the number of characters in the file. At the bottom, click the install button. This puts the file straight into your font book. Because it is in your font book, your software will find it easily.
Moving Files to the Mac GIMP Library
You can also use your Mac file searcher, called Finder, to place files yourself.
Open Finder and look for your Application Support directory. Look for the specific font folders for your drawing software. When you find the right folder, drag the downloaded fonts inside. Now your custom gimp fonts are ready.
Step-by-Step: How to Add Fonts to GIMP on Linux
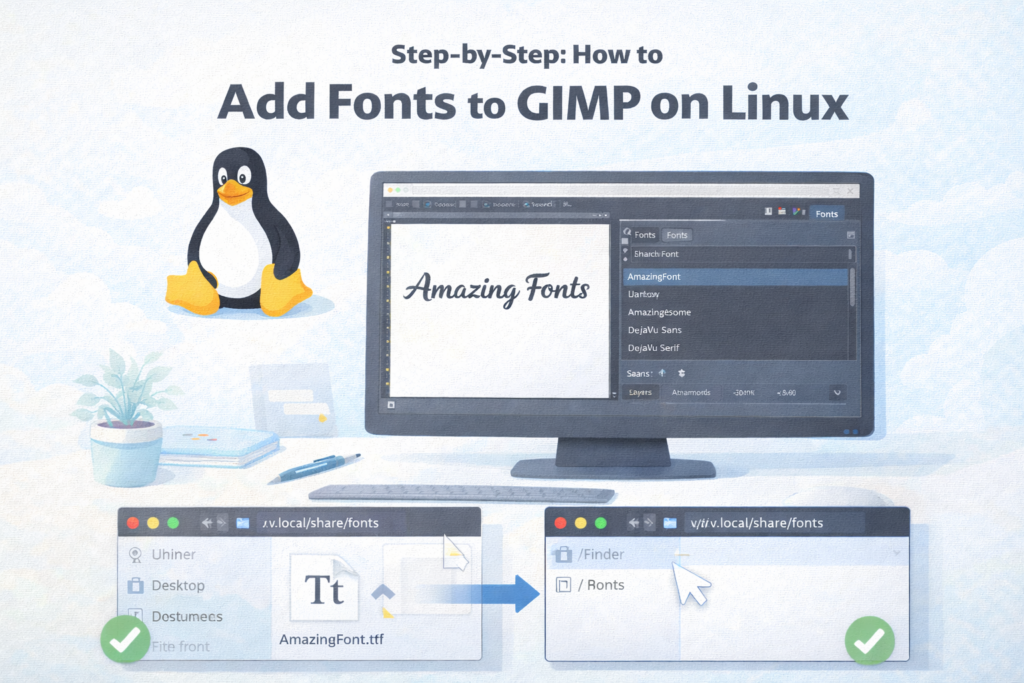
For people who like free and open software like Linux, the steps are very fast.
Installing Via the ~/.fonts or ~/.local/share/fonts Directory
On Linux, you do not need to click install. You just open your local file directory.
Look for a folder named ~/.fonts or ~/.local/share/fonts. If it is not there, you can just make a new folder with that name. Drag your free fonts and drop them in. Your system uses a tool called fontconfig. The computer knows fontconfig’s font path, which means it knows exactly where to look for letters. Your font engine, which is usually called freetype, will read the files. You do not even need a full reboot of your computer!
How to Add Fonts to GIMP and Refresh the Font Cache?
Sometimes, you might be working on a picture and decide you want a new style right then. You can get one even if you are already running gimp. You do not have to save your work and close the program.
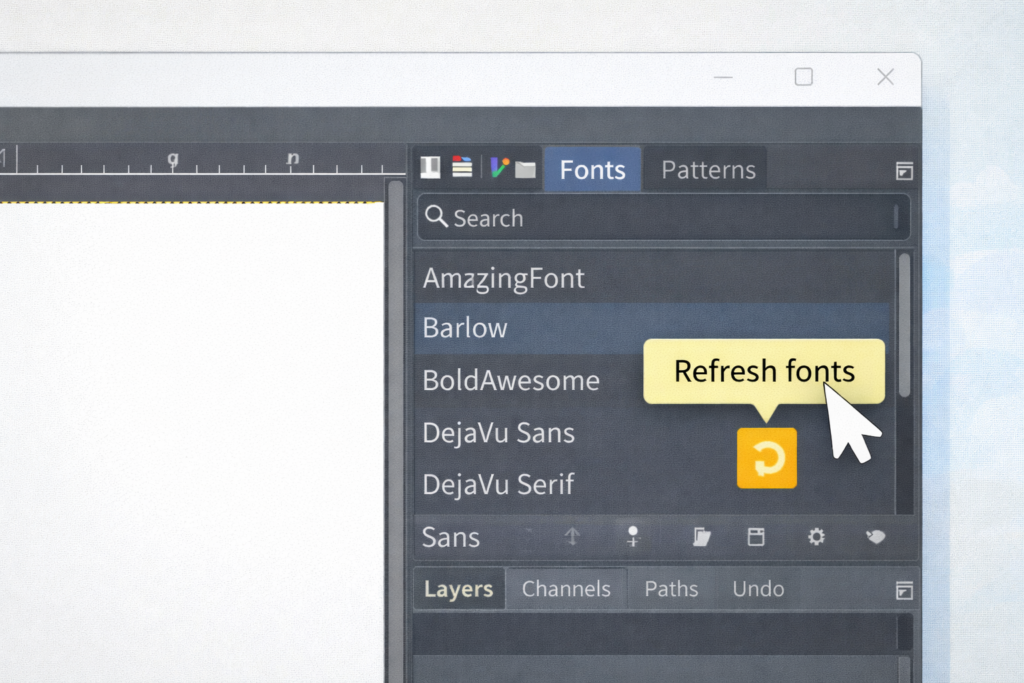
Finding the “Rescan Font List” Button in GIMP
Look at your screen and find the dockable dialog menu on the side. Inside this menu, you will see a specific font dialog. Click the small folder tab at the top of this box. At the bottom, look for a tiny refresh button. This is your rescan font list button. Click it once! The software will stop for a second, read all your font folders, and update the font list. When it finishes, grab your text tool, and your new style will be there.
Troubleshooting: What to Do If Your Fonts Aren’t Showing Up
Sometimes things go wrong. Please do not worry. If you followed the steps but your letters are missing, here are some ways to fix the problem.
Verifying Font File Formats (.TTF and .OTF)
The very first step is to make sure you used the correct file type. Did you remember to extract the zip file? Your software cannot read a zipped package. Look at the file location. You must see a true TTF (TrueType) or OTF (OpenType) file. If it is a picture file or a web link, it will not work.
Checking GIMP’s Custom Folder Preferences
If the TTF file is correct, check your program settings. Go to the top menu and click Edit, then click Preferences. A big list will open. Click on Folders to open it more, then click on Fonts. Look at the screen.
Is your custom fonts folder listed there? If your gimp fonts folder is missing, click the small icon that looks like a paper to add your fonts directory. Click OK. The next time you try to type, the issue should be fixed.
FAQ’s:
Do I Need to Restart GIMP After Installing A New Font?
No, you do not always have to restart gimp. If you are already running gimp, you can just open the fonts dialog and click the rescan font list option. Pressing this refresh button makes the software look in your fonts folder again right away.
Why Isn’t My New Font Showing Up In GIMP?
There are a few reasons.
First, check your file manager to make sure you remembered to extract the zip file. Second, check your font book or computer settings to see if it installed correctly. Sometimes the font engine needs a second to read new files. Make sure the file is actually in the correct gimp fonts folder.
What Font File Formats Does GIMP Support?
This software likes two main types of files. It loves TTF files, which stand for TrueType. It also loves OTF files, which stand for OpenType. The program reads these easily because it uses a smart open source tool called freetype.
Can I Add Fonts to GIMP Without Restarting the Application?
Yes! You can skip the reboot of the program. Just go to your dockable dialog area. Find the fonts dialog screen. Click the small folder tab and press the rescan font list button. The software will look at your fontconfig’s font path and find your new files instantly.
Where is the Specific GIMP Fonts Folder Located on my Computer?
On a PC, the personal gimp directory is usually hidden inside your AppData user files.
On a Mac, you use Finder to look in Library and Application Support. On Linux, look for your ~/.config/ directory. If you cannot find the exact file location, open the program Preferences, click the folder tab for Folders, and it will tell you the exact path.
Can I Use Downloaded Fonts For Commercial Projects In GIMP?
You must be careful!
If you use font websites to find free fonts, read the rules. Many files from places like DaFont will clearly say “Free for personal use“. This means you cannot put them on things you sell. Look for styles from Google Fonts that are completely free to use for any business.
Why Is My New Font Showing Up As Weird Symbols Or Default Text?
Sometimes, a downloaded font does not have all the letters.
A fancy serif style might have the ABCs, but it might be missing numbers or question marks. Check the number of characters in your preview window on your computer. If the character is missing, your fontconfig or font engine will just show a weird box or a boring default letter instead.
Conclusion
Learning how to add fonts to gimp is a wonderful trick to learn. We hope this easy guide makes the whole process very simple for you. Now you know how to go on the internet, find great font websites like Google Fonts, and click download. You know how to use your file manager to extract a zip file and find the ttf file inside. You also learned how to install it on your operating system, whether you use a PC, a Mac, or Linux.
Do not forget to check if your files are for personal use only. And remember, you do not always have to restart gimp. You can just click the refresh button to rescan font list whenever you want. Once you fill your fonts folder with amazing typefaces, your art will look better than ever.
Grab your text tool, pick an exciting name of the font from your font list, and start making beautiful graphic designs today!
