
At Designers Choice, we know that working with images is a big part of any design projects.
Whether you are making brochures, printing materials, or creating a PDF, knowing how to crop an image in InDesign is an essential skill.
Many beginners get confused when they first start using Adobe InDesign because cropping works differently here than in Photoshop.
This guide will show you the easy steps to get consistent results every time.
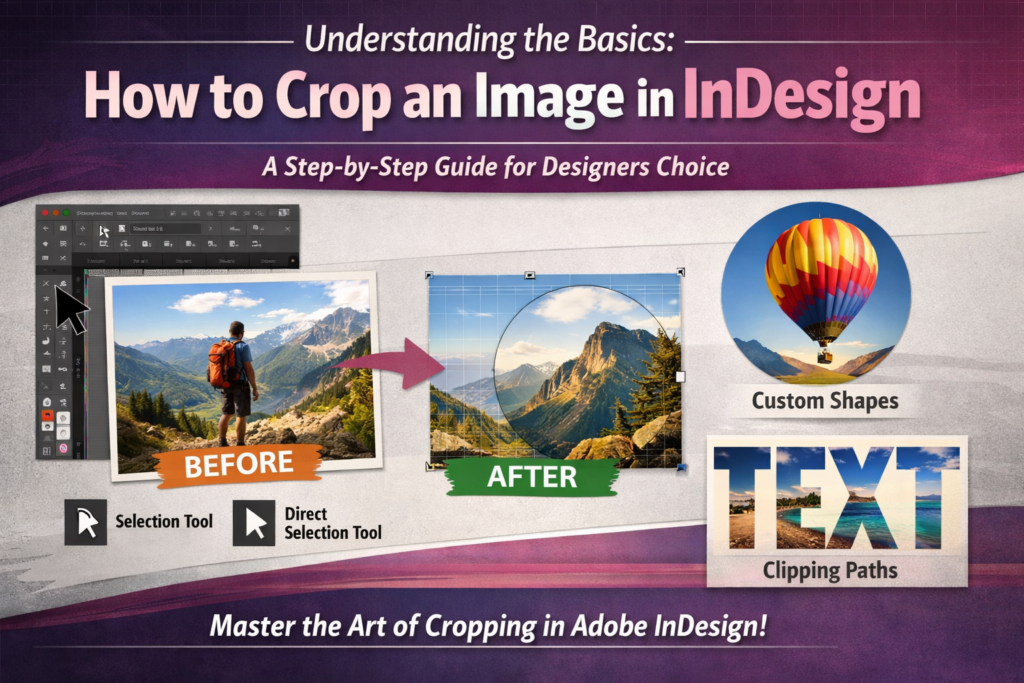
Understanding the Basics: How to Crop an Image in InDesign
The Relationship Between the Image and the Frame
In InDesign, every image file sits inside an image frame.
Think of the frame as a window. The image content is behind that window. When you crop, you are changing the size of the window, not the photo itself. This is why InDesign cropping is different from other programs. The frame size controls what part of the image you see.
Step-by-Step: Using the Selection Tool (Black Arrow)
The selection tool (also called the black arrow) is in the tools panel on the left side of your screen. Here is how to use it:
- Click the black arrow in the toolbar
- Click on your selected image frame
- Look at the corners of the frame. You will see small squares called anchor points
- Drag any corner handle to resize the frame
- Hold the shift keys on the side of the keyboard to keep the aspect ratio
This is the normal sequence for basic cropping. The control panel at the top of your screen also shows the frame size numbers.
Utilizing the Content Grabber to Position Your Crop
The content grabber is a small circle that appears when you hover over a placed image. It helps you move the image content inside the frame. Click and drag it to show a different part of the image. This gives you precise cropping without changing the frame size.
Advanced Techniques For Cropping an Image in InDesign

Resizing and Cropping with the Direct Selection Tool (White Arrow)
The direct selection tool (the white arrow) lets you work with the image content directly. When you select this tool from the tools panel, you can:
- Click on the image content to select it
- Drag the image content to move it inside the frame
- Use the control handle points to resize the image itself
This tool is great when you need to fit a frame to specific dimensions while keeping the photo in the right spot.
Using Frame Fitting Options For Automatic Cropping
Adobe InDesign has built-in options to make cropping faster. With your selected image frame selected, go to the file menu and choose Object > Fitting. You will see options like:
- Fit Content Proportionally
- Fill Frame Proportionally
- Center Content
These options help with InDesign cropping instead of resizing mistakes that beginners often make. The autofit feature can also be turned on in the control panel.
Cropping Images Into Custom Shapes (Circles, Polygons, and Text)
You can crop images into shapes other than rectangles. Use the pen tool to draw a custom shape, or use the shape tools for circles and polygons. Then:
- Place your image file on the page
- Draw your shape on top of it
- Select both the shape and image
- Go to Object > Clipping Path > Make
This creates a clipping path that crops the image to your shape. You can even use text as a custom shape for creative effects.
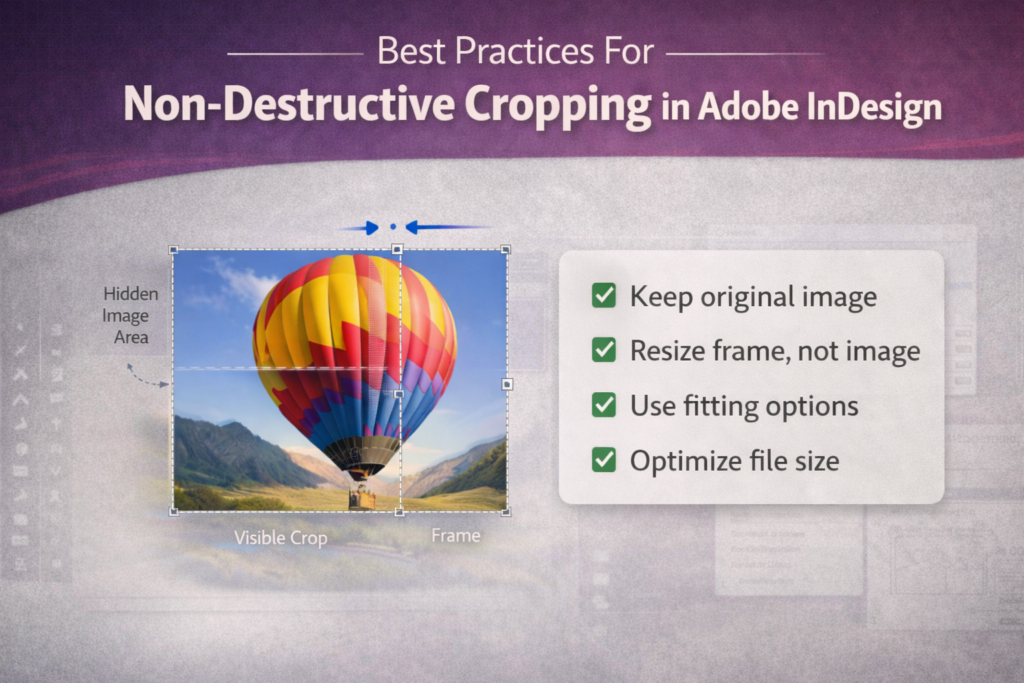
Best Practices For Non-Destructive Cropping in Adobe InDesign
Why InDesign Cropping is Always Non-Destructive?
One great thing about Adobe InDesign is that cropping never deletes your original image. The image file stays complete. You can always:
- Double-click with the direct selection tool to see the full image
- Drag the frame bigger to show more of the image
- Use the content grabber to reposition
This is why InDesign cropping instead of resizing confusion happens, because the image content and frame size are separate things.
Managing File Sizes: When to Pre-Crop in Photoshop
While InDesign cropping is safe, large image file sizes can slow down your indesign document.
For printing projects with many photos, consider:
- Cropping in Photoshop first for huge images
- Saving copies at the right pixels size
- Then placing them in InDesign
This keeps your layout running smoothly, especially for brochures with many pages.
FAQ’s:
What is the Difference Between the Selection Tool and the Direct Selection Tool When Cropping?
The selection tool (black arrow) moves and resizes the image frame. The direct selection tool (white arrow) moves and resizes the image content inside the frame. Use the black arrow for the frame, white arrow for the picture.
How Do I Crop an Image Into A Perfect Circle in InDesign?
Use the ellipse tool to make a circle. Place it over your image. Select both, then go to Object > Clipping Path > Make. Or use Object > Pathfinder options. This creates a circular crop using a clipping path.
Why Does My Image Look Blurry Or Pixelated After I Crop It?
This usually happens when you stretch the image content bigger than the original image resolution. Check your pixels in the control panel. For printing, images should be 300 DPI at the final size.
Why Won’t My Image Crop in InDesign, and How Can I Fix It?
Make sure you are clicking on the corner of the frame with the selection tool. If the frame moves but the image does not crop, check that you are not using the direct selection tool by mistake. Also, locked layers prevent editing. Check the Layers panel.
How Can I Quickly Fit My Image to the Cropped Frame Without Distorting It?
Select the selected image frame, then go to Object > Fitting > Fill Frame Proportionally. This keeps the aspect ratio while filling the frame. You can also use keyboard shortcuts: cmd (on Mac) or ctrl (on PC) + Alt + C.
Is Cropping A Vector Shape in InDesign Possible, Like Cropping A Photo?
Yes! You can place vector graphics inside frames just like photos. Use the same range of tools, the selection tool, direct selection tool, and frame fitting options work the same way.
Is Cropping in InDesign Permanent? Can I Get the Rest of my Image Back?
No, cropping is not permanent. Your original image is always there. Just drag the edges of the frame outward to reveal more. Or double-click with the direct selection tool to access the full image content.
Conclusion
Learning how to crop an image in InDesign opens up many different methods for your design projects. From basic selection tool moves to advanced clipping path techniques, you now have the skills to handle any cropping task.
Remember that InDesign keeps your original image safe, so do not be afraid to experiment with different cropping techniques.
At Designers Choice, we believe that mastering these tools helps you create better layouts for brochures, printing jobs, and digital PDF files. Keep practicing with these steps, and soon cropping will feel like second nature. Happy designing!
