
Want to make your pictures and words look like they’ve been sliced with scissors?
In Canva, you can use the slice effect to chop up text and images in fun ways! This trick makes your designs pop, like giving them a 3D look or making parts “disappear.”
Whether you’re making posters, social media posts, or school projects, slicing helps your work stand out.
Here’s how it works: For text, you’ll type words in a text box, pick a thick font size, and add shapes (like lines or curves) to “cut” the letters.
For photos, Canva’s Slice app lets you split images into pieces that you can slide around. You can even take a screenshot of your design to save it!
By the end of this guide, you’ll know how to slice like a pro—no fancy tools needed!
How To Slice Text In Canva?
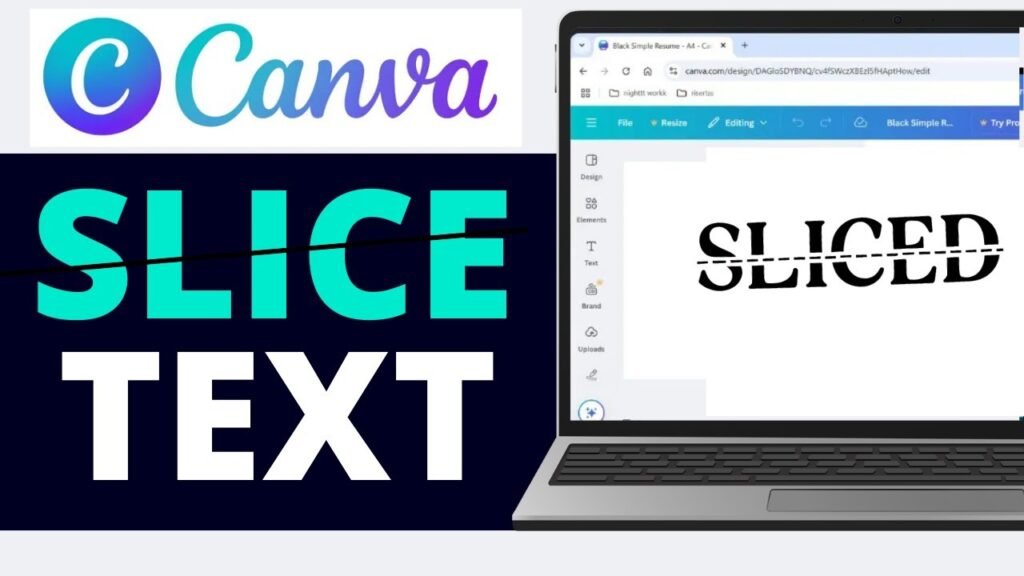
Slicing text is a game-changing feature in Canva that can help transform the look of your designs. To get started, follow these steps:
Add The Text
The first step in creating a sliced text effect is adding the text you want to modify:
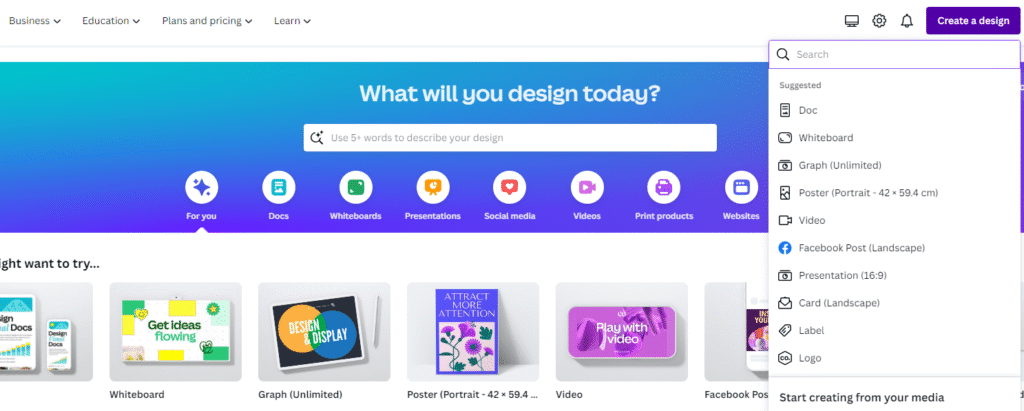
- Open your Canva project and click on “Add a text box” from the sidebar
- Type the word or phrase you want to apply the sliced effect to
- Position your text box centrally in your working area to give yourself space for adjustments
For best results, use short words or phrases that will maintain readability after slicing. Once your text is in place, you can also explore other formatting options. For instance, you can learn how to indent in Canva to better structure your text blocks. The text box placement is important as it determines how your slice effect will appear in the final design.
Choose Font and Size
Selecting the right font is important for an effective slice effect:
- Click on your text to access the text editing options
- Select a bold, substantial font that will create visual impact when sliced
- Increase the font size to make your text large enough to work with effectively
Bold fonts work best as they provide more visual weight when sliced.
Fonts like Impact, Bebas Neue, or Montserrat Bold create dramatic results due to their thickness.
If you have a specific brand font, you might wonder, “Can you upload fonts to Canva“? The answer is yes, with a Pro account. Beyond slicing, you can also learn how to curve text in Canva or how to outline text in Canva to make your typography stand out. Adjust the font size to ensure your text is large enough that the slices will be visible in your final design.
Selecting The Element For Slicing
Now you need to choose an element that will create the slice effect:
- Navigate to the “Elements” section in Canva’s sidebar
- Search for shapes like lines or curves that can represent where your text will be sliced
- Select an element that suits your design vision – straight lines create clean cuts, while curves create more dynamic effects
The type of element you select will determine the style of your slice. An elegant curve might create a flowing, artistic slice, while a jagged line might create a more energetic, disruptive effect.
Apply The Slicing Element
Once you’ve chosen your slicing element, it’s time to apply it to your text:
- Drag the element over your text, positioning it where you want the slice to appear
- Resize, rotate, or adjust the element as needed
- Make sure the element fully extends beyond the edges of your text
For multiple slices, duplicate the slicing element and place each copy in different positions across your text. This technique creates a more complex, fragmented look that adds visual interest to your design.
For even more dynamic text effects, you might want to learn how to flip text in Canva or how to add a shadow in Canva to create depth.
Adjust Colors If Needed
The final step in creating sliced text is adjusting the colors to enhance the effect:
- Select your slicing element
- Change its color to match the background color of your design
- This creates the illusion that parts of the text have been removed
For a clean slice effect, the slicing element should be the same color as your background.
While you’re adjusting colors, you might also find it useful to know how to highlight text in Canva for emphasis in other parts of your design.
If the element color differs from the background, it won’t look like true slicing but rather like a colored element overlaying your text.
How To Slice Images In Canva?
Slicing an image in Canva can help you make interesting and creative looks without much effort. To Slice images in Canva, follow these steps:
Select Your Image
Start by adding the image you want to slice to your Canva project:
- Upload your own image by clicking on “Uploads” in the sidebar
- Or choose from Canva’s library of stock images
- Place the image on your canvas where you want it to appear
If you need to change the image later, it’s easy to learn how to replace an image in Canva.
For best results, select images with clear focal points and good contrast. You can also edit the image before slicing; for example, you can discover how to flip an image in Canva or how to fade an image on Canva for creative effects.
Images with clean backgrounds often work well for slicing effects, as they allow the sliced portions to stand out more clearly.
Locate The Slice App
Canva makes image slicing easy with its dedicated Slice app:
- Select your image by clicking on it
- Click on “Edit image” in the top toolbar
- Scroll down through the available editing tools to find the “Slice” app
- The app might be under the “Apps” section
If you’re using the new Canva editor and don’t see the Slice app, you may need to revert to the old editor. This brings up a common question about subscription levels and their features. If you’re wondering how much Canva Pro costs or if “Is Canva Pro worth it,” these resources can help you decide. For those on a budget, it’s also useful to know how to get Canva Pro for free through trials or special programs.
To do this, scroll down to the bottom of the Effects tab and click on “click here” to revert to the old editor, where the Slice effect is available.
Apply The Slice App
After locating the Slice app, it’s time to apply it to your image:
- Click on the Slice app to open it
- Make sure your image is selected before trying to apply the effect
- If you get an error message, check that your image is properly selected
It’s important to note that your image must be selected before applying the Slice app. If you try to open the app without an image selected, you’ll receive an error message prompting you to select an image first.
Choose A Slice Style
Once the Slice app is open, you’ll be presented with different slice style options:
- Browse through styles like “Chipped,” “Sliced,” “Minced,” and “Torn“
- Each style creates a different visual effect
- Click on different options to preview how they affect your image
The “Sliced” option typically creates clean, straight cuts, while “Torn” creates more irregular, textured edges. Take some time to experiment with each style to see which one best suits your design goals.
Adjust The Slicing Parameters
After selecting a slice style, you can fine-tune the effect using the parameter controls:
- Look for slider controls labeled “Offset,” “Count,” and “Position“
- Move the sliders to adjust these parameters
- Watch how they transform your image in real-time
The “Count” slider increases or decreases the number of slices, while “Offset” adjusts how far the slices move from their original position. “Position” allows you to change where the slices are placed across the image.
Apply The Changes
Once you’re satisfied with the slice effect:
- Click “Save” or “Apply” to confirm the changes
- The app will process your selections and apply the final effect to your image
- Your image will now display the slice effect in your Canva design
After applying the effect, you can continue to make other adjustments to your image, such as changing its size, position, or applying additional effects. Once you’re done, you might want to adjust the orientation of your entire design; learning how to landscape in Canva is a useful skill for that.
Remember that the slice effect becomes part of your image, so any subsequent changes will affect the entire image, including the slices.
Creative Applications For Sliced Designs
Sliced designs can be used in numerous creative ways:
- Social Media Graphics: Create eye-catching posts, stories, or profile headers with sliced text or images to stand out in crowded feeds.
- Brand Identity Elements: Include sliced text in logos, business cards, or email signatures for a modern, edgy feel.
- Promotional Materials: Use slice effects to highlight special offers or create visual breaks in flyers, posters, and digital ads. For business promotion, you could also learn how to create a lookbook in Canva to showcase products. If you’re creating digital documents, knowing how to add a clickable link in Canva PDF can make your promotional materials interactive.
- Website Elements: Add sliced images to your website for a contemporary look that draws attention to important sections.
- Video Thumbnails: Create compelling YouTube or video thumbnails with sliced text that entices viewers to click. To add a sense of urgency or a countdown, you could also find out how to put a timer in Canva.
- T-Shirt Designs: Apply slice effects to create unique t-shirt graphics with a modern, street-style aesthetic.
- Monetizing Your Designs: Once you master effects like slicing, you can create templates to sell. Many creators ask, “Can I sell Canva designs on Etsy“? The answer is yes, and you can learn how to sell Canva templates on Etsy to get started.
The slice effect works particularly well for designs that need to convey motion, disruption, or a contemporary edge. By strategically applying slices, you can guide the viewer’s eye through your design and emphasize key information.
Tips and Troubleshooting For Slicing in Canva
Working with Text:
- Use bold, substantial fonts for the best slice effects
- Group your text elements before slicing to maintain alignment
- Take a screenshot of complex text arrangements before slicing to treat them as a single image
Image Considerations:
- High-contrast images typically work best with slice effects.
- Consider the focal point of your image when positioning slices. Before you even begin slicing, a more fundamental skill is knowing how to cut out an image in Canva cleanly.
- Some images may not slice well if they have too many detailed elements. Also, ensure you have the right to use your selected photos by checking if Canva images are copyright-free.
Technical Solutions:
- If the Slice app isn’t available in your Canva interface, try reverting to the old editor where the feature might still exist
- For precise text slicing, use the ruler feature (press Shift+R) to align your slicing elements perfectly
- Always duplicate your original elements before applying slice effects, so you have a backup
Alternative Slicing Methods:
- For more control over text slicing, try downloading your text as a PNG with a transparent background, then re-uploading it to slice as an image
- For complex slice patterns, consider creating them in another program and importing them as elements
Common Issues:
- If your slice effect looks unnatural, try adjusting the parameters for a more subtle effect.
- When slicing text, make sure your slicing element exactly matches the background color for a seamless effect.
- If the app seems to freeze, try refreshing your browser or restarting the Canva app. To avoid simple text errors before you get to the design stage, it’s helpful to know the answer to, “Does Canva have spell check“?
FAQ’s:
What is the Slicing Tool in Canva, and How Does it Work?
The slicing tool in Canva creates the visual effect of cutting or splitting text and images.
For text, it works by strategically placing elements that create the appearance of slices in the text. For images, Canva offers a dedicated Slice app that automatically creates various slicing effects through algorithmic processing.
Both methods allow you to create dynamic, modern visual effects that add movement and interest to your designs.
Can I Undo A Slice Once Applied?
Yes, you can undo a slice effect in Canva. For text slicing, simply delete the slicing elements or move them away from your text.
For image slicing using the Slice app, use the undo button (Ctrl+Z or Cmd+Z) immediately after applying the effect.
If you’ve already made other changes, you might need to revert to a previous version of your design through Canva’s version history feature, or replace the sliced image with the original.
Can I Apply The Slice Effect To A Grouped Set Of Elements?
For text slicing using elements, you generally need to work with ungrouped elements to achieve the desired effect.
The Slice app for images can only be applied to individual images, not to groups. If you want to slice multiple elements together, take a screenshot of them first, then upload that screenshot as a single image to apply the slice effect.
Can I Use The Slice Effect On Videos In Canva?
Currently, the Slice app in Canva is designed primarily for still images rather than videos. For video content, you would need to either create a sliced still image to use as an overlay or transition or use more advanced video editing software.
However, Canva’s capabilities are continually expanding, so this feature might become available in future updates.
How to Slice Letters in Canva?
To slice letters in Canva, start by creating text with a bold font. Then, use lines or shapes from the Elements section to create the slicing effect. Position these elements over the letters where you want the slices to appear, and change their color to match the background.
For more complex letter slicing, consider breaking your text into individual letters, duplicating each letter, and then manipulating the copies separately by cropping them at different angles.
Can I Slice Multiple Elements At Once In Canva?
Directly slicing multiple distinct elements simultaneously isn’t supported in Canva.
However, you can achieve a similar effect by first combining the elements into a single image. Take a screenshot of your arranged elements, upload it to Canva, and then apply the Slice app to this composite image.
Alternatively, slice individual elements separately and arrange them together to create the appearance of a unified sliced design.
How Do I Fix A Mistake Made During Slicing?
If you make a mistake while creating a slice effect, there are several ways to fix it.
For text slicing using elements, select and adjust or delete the problematic slicing elements. For image slicing with the Slice app, use the undo function (Ctrl+Z or Cmd+Z) if you’ve just applied the effect.
If you’ve already committed to the changes, you might need to start over with a fresh copy of your original image, which is why it’s good practice to duplicate elements before applying slice effects.
Conclusion
The slice effect in Canva provides an effective way to add visual interest and a contemporary edge to your designs.
Whether you’re slicing text to create a dynamic typographic effect or applying the Slice app to images for a modern, fragmented look, this technique can take your designs from ordinary to extraordinary.
Following the steps in this guide helps you master both text and image slicing in Canva, opening up new creative possibilities for your design projects. Keep in mind that the best slice effects enhance your message instead of distracting from it, so aim for a balance between visual impact and clarity.
As you practice creating sliced designs, you’ll develop an intuition for which fonts, images, and slice parameters work best for different projects. Don’t be afraid to experiment with different styles and settings to find your unique approach to the slice effect.
With these techniques in your design toolkit, you’ll be able to create eye-catching graphics that make an impact and help your content stand out in today’s visually competitive landscape.
