Quick Answer: To use Canva AI, sign up for a free account, click “Create a design,” then use Magic Design to generate a full layout from a text prompt. Magic Design generates complete layouts instantly. Magic Write handles AI text. Background Remover and Magic Eraser fix photos in one click. All AI tools live in the left sidebar.
If you have never used Canva before or you have used it but never touched the AI features this guide is for you. Learning how to use Canva AI does not require any design experience, any technical knowledge, or any paid subscription to get started.
Canva’s AI tools are genuinely beginner-friendly. Within your first session, you can generate professional-looking designs from a simple text description, remove backgrounds from photos, create AI images, and write copy all without leaving one platform. We have tested every feature covered in this guide personally, so everything you read here is based on real hands-on use, not guesswork.
Before diving in, if you want a broader look at how Canva compares to other tools, check out our full Canva AI review and our roundup of the best AI design tools.
Getting Started with Canva AI
Step 1 — Create Your Free Canva Account
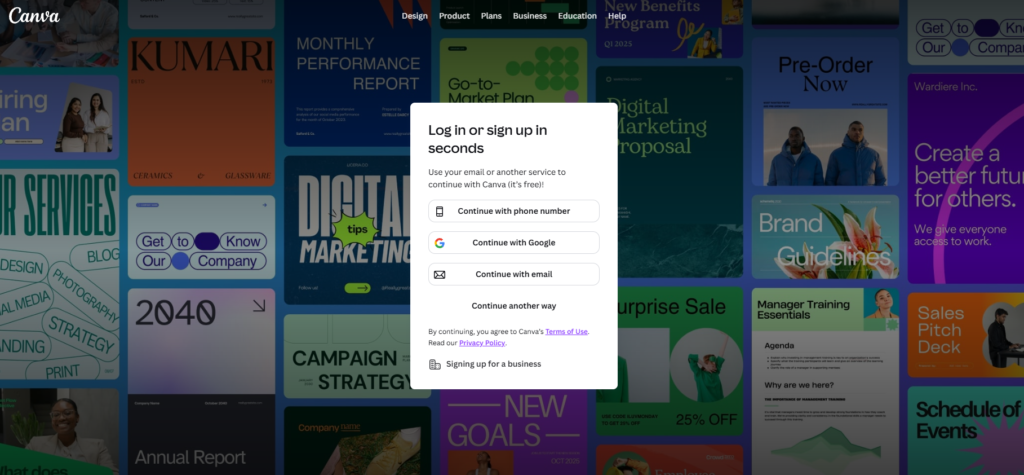
Go to canva.com and click Sign up in the top right corner. You can sign up with Google, Facebook, or your email address. The whole process takes under two minutes and does not require a credit card.
Once your account is created, you land on the Canva home dashboard. This is where everything starts.
Step 2 — Understand the Canva AI Dashboard
On your home dashboard you will see a search bar at the top, a list of design types below it (Social media, Presentation, Video, Print), and a left sidebar with your recent files and folders.
The AI tools are not hidden they are built directly into the design editor. Once you open any design, look at the left sidebar. You will see icons for Elements, Text, Apps, and more. The Apps section is where most AI features live, including Magic Media (AI image generation) and Magic Write (AI text).
Magic Design appears automatically when you start a new design you will see the option to describe your design before choosing a template.
How to Use Magic Design (Step by Step)
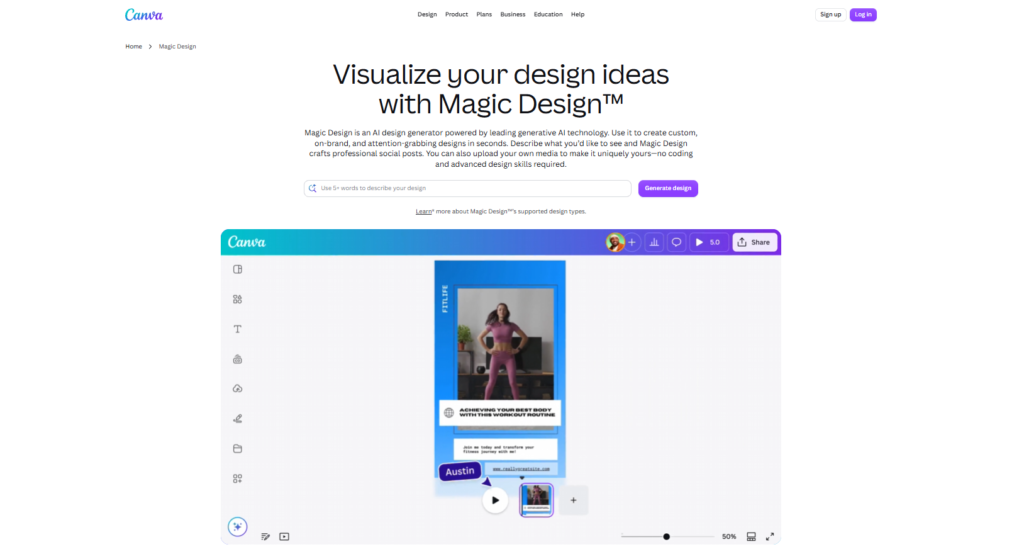
Magic Design is Canva’s flagship AI feature. You type what you want, and Canva generates a complete, fully designed layout in seconds.
Step 1 — Click Create a Design
From the home dashboard, click the purple Create a design button in the top right corner. A dropdown appears with options like Instagram Post, Presentation, Flyer, and more. Choose the format you need or search for a specific size.
Step 2 — Type Your Design Description
When the editor opens, you will see a search bar at the top of the template panel with the text “Describe your design.” This is Magic Design. Type a clear description of what you want for example: “A minimalist flyer for a coffee shop grand opening with warm brown tones and modern fonts.”
The more specific you are, the better the results. Include the mood, colors, and purpose.
Step 3 — Choose From AI Generated Options
Canva generates eight to ten complete design options based on your description within a few seconds. These are not just color variations they are fully laid out designs with different fonts, image placements, and structures. Scroll through and click any one that feels close to what you need.
Step 4 — Customise Your Chosen Design
Once you select a design, it opens in the full editor. Every element is clickable and editable. Click any text to change the words. Click any image to swap it out. Drag elements to reposition them. Magic Design gives you a strong starting point you take it the rest of the way.
How to Use Magic Write for AI Text
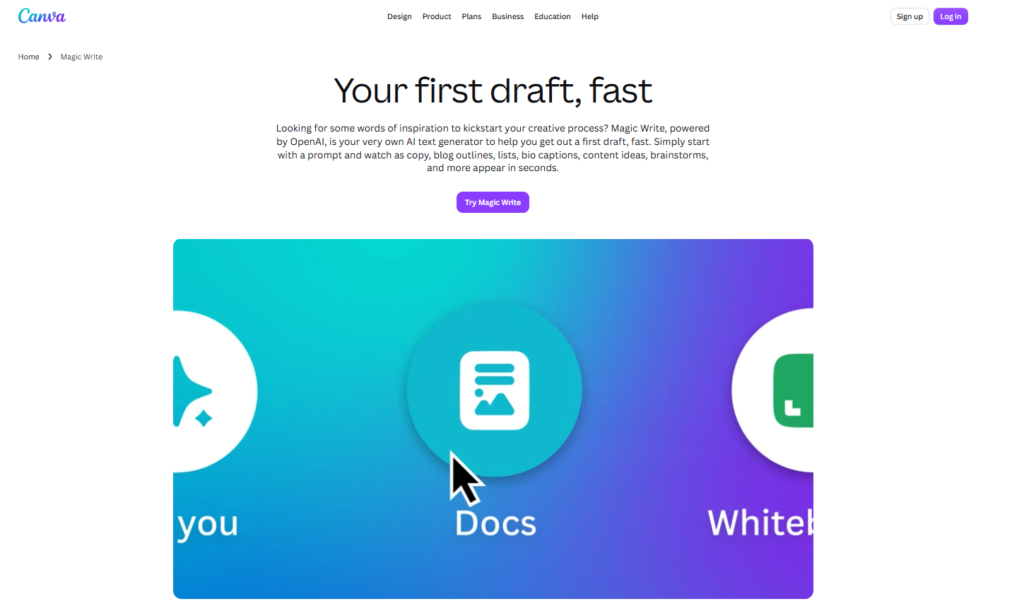
Magic Write is Canva’s built-in AI writing tool. It generates headlines, body copy, captions, and more from a simple prompt.
Step 1 — Select Magic Write Tool
Inside the editor, click the Apps icon in the left sidebar. Search for “Magic Write” or find it under the AI tools section. Click it to open the Magic Write panel on the left side of your screen.
Alternatively, click any text box in your design and look for the purple Magic Write button that appears in the toolbar above.
Step 2 — Enter Your Prompt
Type what you need. Be specific about the tone and purpose. For example: “Write a short tagline for a yoga studio that feels calm and welcoming.” Magic Write works best when you tell it both what to write and how it should feel.
Step 3 — Choose Tone and Length
Before generating, you can adjust the tone (professional, casual, friendly, persuasive) and the length (short, medium, long). These settings make a big difference in the output quality.
Step 4 — Edit and Insert Generated Text
Magic Write gives you a text output you can copy directly or insert into your design with one click. Always read it through before publishing AI text is a great starting point but usually needs a light edit to sound natural and on-brand.
How to Use AI Image Generation
Canva’s AI image generator (called Magic Media) lets you create original images from a text description. These can be used inside your designs without worrying about copyright.
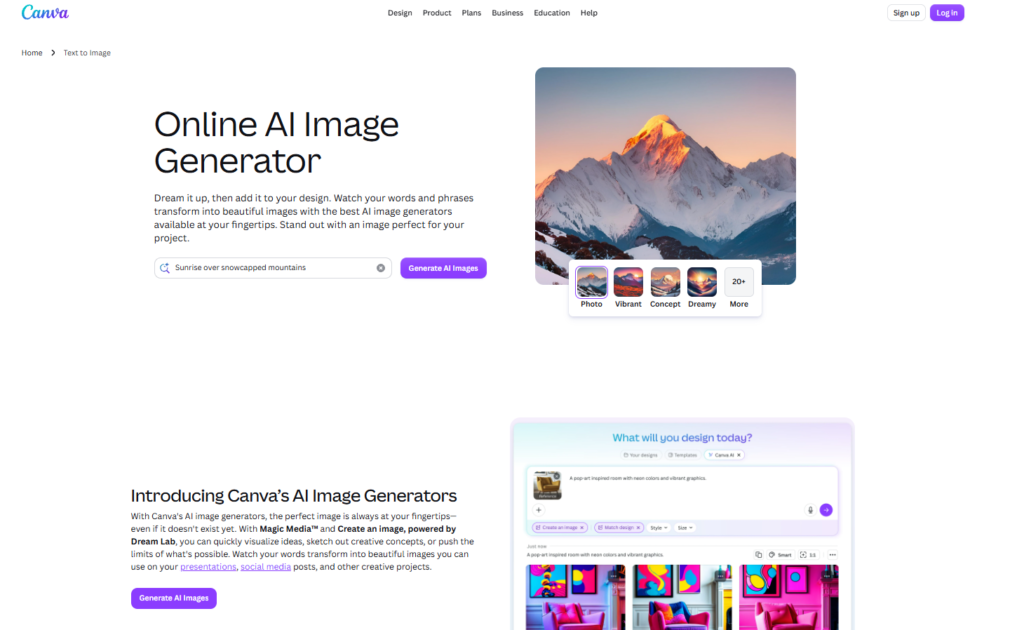
Step 1 — Open Text to Image Tool
Inside the editor, click the Apps icon in the left sidebar and search for Magic Media. Click it to open the tool. You will see a text field where you enter your image description.
Step 2 — Write a Detailed Prompt
This is the most important step. Vague prompts produce generic images. Specific prompts produce useful ones. Instead of “a dog,” try: “A golden retriever sitting in a sunlit park, soft natural light, photography style, warm tones.”
Include: subject, setting, lighting, style (photography, illustration, watercolor), and mood.
Step 3 — Select Your Preferred Style
Below the prompt field, Canva offers style options including Photo, Illustration, Watercolor, Neon, and more. Choose the one that matches your design aesthetic before generating.
Step 4 — Generate and Download
Click Generate. Canva produces four image options. Click your favorite to add it directly to your design, or hover and click the download icon to save it separately. Free accounts get a limited number of Magic Media generations per month Canva Pro gives you unlimited.
How to Use Background Remover
Background Remover is one of Canva’s most useful AI tools for beginners. It removes the background from any photo in one click no manual cutting required.
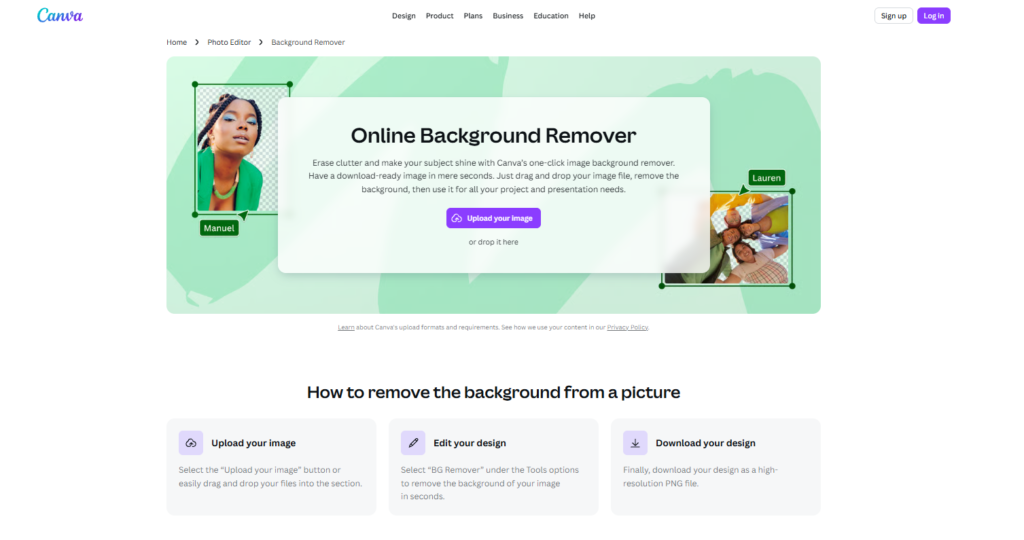
Step 1 — Upload Your Photo
Click the Uploads icon in the left sidebar and drag your photo into Canva, or click Upload files to browse your device. Once uploaded, click the photo to add it to your design canvas.
Step 2 — Click Background Remover
With the photo selected on the canvas, click Edit image in the top toolbar. In the panel that opens, click BG Remover. Canva processes the image and removes the background automatically within a few seconds.
Step 3 — Download Transparent Image
Once the background is removed, click Download in the top right corner. Select PNG as the file format and make sure the Transparent background checkbox is ticked. Your image will download with a clean, transparent background ready to use anywhere.
Note: Background Remover requires a Canva Pro subscription. Free accounts can preview the result but need to upgrade to download.
How to Use Magic Eraser
Magic Eraser removes specific objects from inside a photo not the whole background, but individual elements. It is perfect for removing unwanted objects, people in the background, or distracting elements.
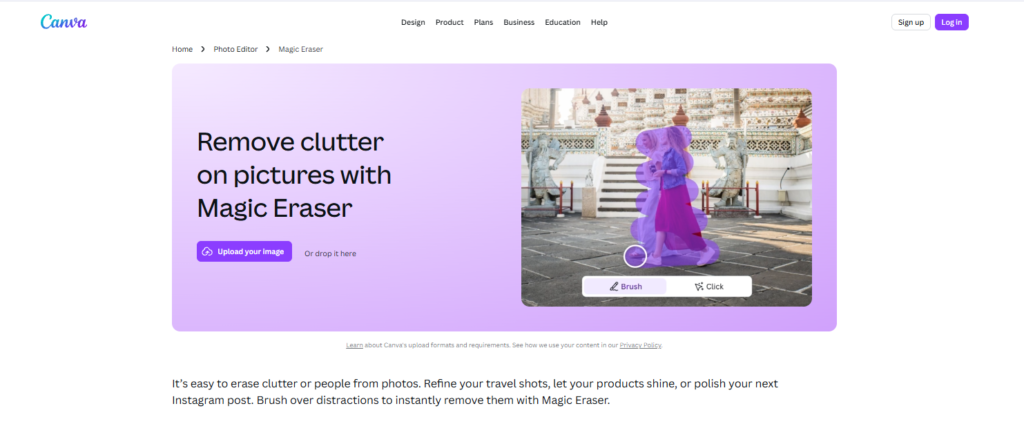
Step 1 — Select Magic Eraser Tool
Click your photo on the canvas, then click Edit image in the top toolbar. In the editing panel, find and click Magic Eraser.
Step 2 — Brush Over Object to Remove
A brush tool activates. Paint over the object you want to remove by clicking and dragging across it. You do not need to be precise Canva’s AI identifies the edges of the object automatically.
Step 3 — Let AI Fill the Background
After you finish brushing, Canva fills the erased area with generated background content that matches the surrounding image. The result is not always perfect on complex backgrounds, but on simple or natural backgrounds it works extremely well.
Tips for Getting Better Results from Canva AI
Getting good results from AI tools is partly about knowing how to ask. These habits make a real difference:
Be specific in your prompts. “A poster” gives you generic results. “A bold event poster for a summer music festival with neon colors and a crowd silhouette” gives you something usable. Always include mood, style, colors, and purpose.
Set your brand colors first. Before running Magic Design, add your brand colors to your Canva color palette under your account settings. Magic Design will incorporate them into generated layouts when available.
Combine multiple AI tools. Use Magic Design to build the layout, Magic Media to generate a custom image, and Magic Write to create the copy. The tools work better together than in isolation.
Always review before publishing. AI output is a starting point, not a finished product. Check for odd text, awkward crops, or off-brand colors before anything goes live.
Common Canva AI Problems and Solutions
| Problem | Solution |
| Magic Design results look too generic | Add more specific details style, color, mood, industry |
| AI image has a watermark | You have used free Magic Media credits upgrade to Pro or wait for monthly reset |
| Magic Write text sounds robotic | Change the tone setting to “casual” and regenerate then edit lightly |
| Background Remover misses edges | Use the manual restore brush tool to paint back any areas removed incorrectly |
Final Thoughts
Canva AI is one of the most accessible creative tools available in 2026. Whether you need a social media post, a flyer, a presentation, or a custom image, you can go from nothing to a professional-looking result in under 30 minutes on your first try.
The best way to learn is simply to use it. Open a free account, pick a design type, and run Magic Design with a description of something you actually need. You will figure out the tools faster by doing than by reading.
For more on what Canva AI can do and how it stacks up against competitors, read our full Canva AI review. And if you are still exploring your options, our guide to the best free graphic design tools for beginners and the best AI design tools for beginners are great next reads.
Frequently Asked Questions
Q: How do I start using Canva AI? Create a free account at canva.com, click “Create a design,” and look for AI tools like Magic Design in the template search bar. Magic Design lets you type a description and Canva generates complete design options instantly no design experience needed.
Q: Is Canva AI hard to learn? No. Canva AI is one of the easiest AI tools to learn in 2026. Most beginners get comfortable with Magic Design and the core AI features within 10 to 15 minutes. The interface is built around simple buttons and clear labels, so no prior design or technical knowledge is required.
Q: How do I write good prompts for Canva AI? Good prompts are specific and detailed. Instead of “create a poster,” write “create a minimalist poster for a coffee shop with warm brown tones and modern typography.” The more detail you give about style, colors, and purpose, the better the AI results will be.
Q: Can I edit designs after Canva AI generates them? Yes every design Canva AI generates is fully editable, just like a regular template. You can change colors, fonts, images, and layout after the AI creates the initial version. Think of Magic Design as a starting point, not a finished product.
Q: How do I use Magic Eraser in Canva? Upload your photo, select it on the canvas, click Edit image, then choose Magic Eraser. Brush over the object you want removed and Canva AI fills in the background automatically. Works best on simple backgrounds complex scenes may need a light manual touch-up.
Q: Why does my Canva AI image have a watermark? Watermarks appear when your free Magic Media credits are used up for the month. Upgrading to Canva Pro removes watermarks and gives you unlimited AI image generation. You can check your remaining credits in your account settings.
Q: Can I use Canva AI on my phone? Yes. Most Canva AI features including Magic Design, background removal, and AI image generation are available on the Canva mobile app for iOS and Android. Some advanced editing is easier on desktop due to screen size, but the core AI tools work well on mobile.
Q: What is the difference between Magic Design and Magic Media? Magic Design generates complete design layouts templates, text placement, and images from a text description. Magic Media generates individual AI images from a text prompt that you then place inside your designs. Magic Design builds the whole composition; Magic Media creates individual visual elements.
