At Designers Choice, we believe that design is about more than just making things look good.
It is about feeling, memory, and keeping stories alive. One of the most powerful ways to keep those stories safe is through heirloom photos.
These are not just pieces of paper; they are windows into the past. They show us where we came from and help us share our history with our own children.
Whether you have a box of old black-and-white pictures from your grandparents or you are planning a heirloom photography session for your newborn, these images matter. They are a true work of art that stands the test of time.
However, keeping them safe can be tricky. Old paper gets fragile, and colors can fade.
In this guide, we will help you learn how to protect your family heirlooms. We will also talk about how to create new heirloom portraits that will last for years. We want to help you turn your memories into pieces of art that you can hold, display, and love forever.
What Are Heirloom Photos and Why Do They Matter?
Heirloom photos are special pictures that are passed down from parents to children. They are different from the quick snapshots we take on our phones today. A real heirloom photo is meant to last for a long time.
It tells the family’s story without using any words.
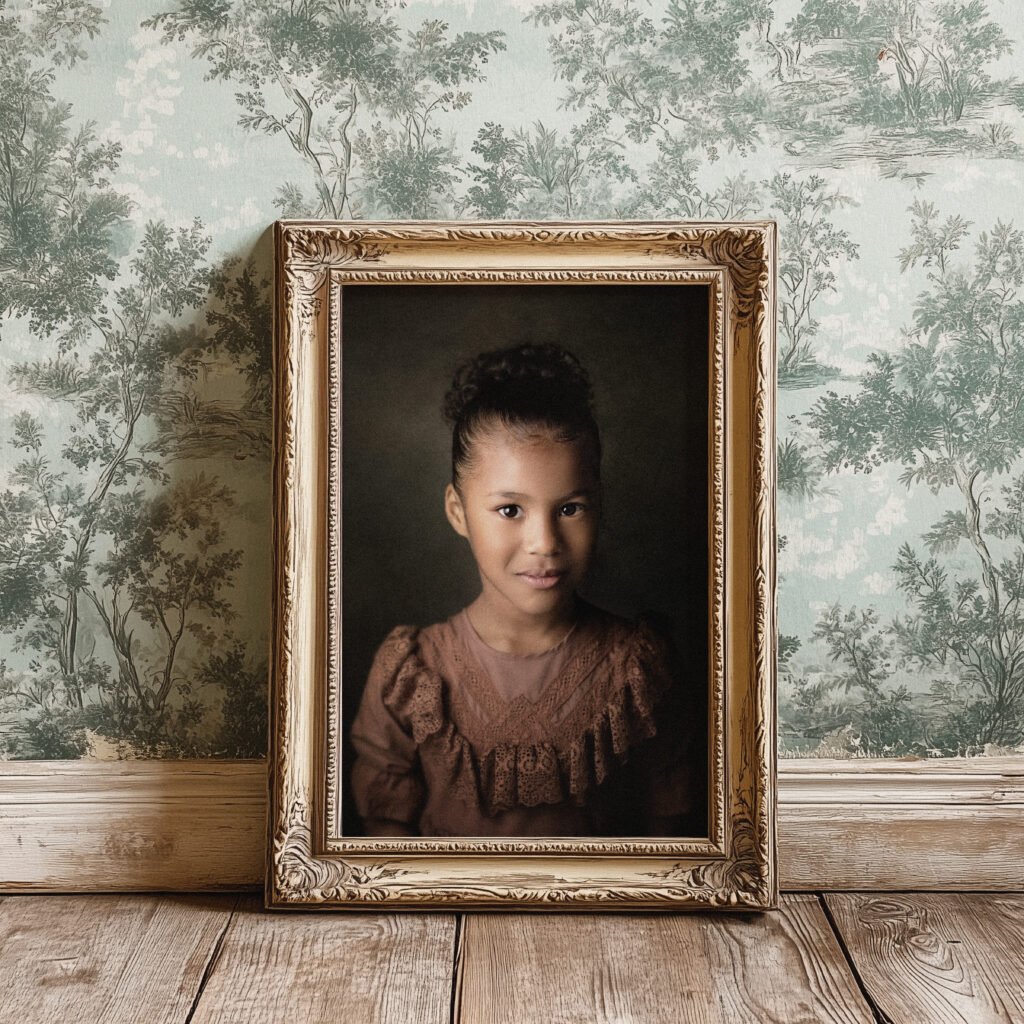
When you look at heirloom portraiture, you see history. You might see your great-grandmother’s wedding dress or the house where your father grew up. These images connect us to people we might have never met.
They are valuable because they cannot be replaced. If you lose a digital file, you might be able to get it back.
But if you lose an original vintage photo, it is gone forever. That is why treating them with care is a good reason to learn about preservation.
Defining the Value of Vintage Family Photography
Vintage family photography is special because of the way it was made.
In the past, having a photo taken was a big event. People would wear their best clothes. They would stand very still. The photographers used special chemicals and papers that gave the images a unique look.
These photos are valuable because they are physical objects. You can hold them in your hands. They have texture and weight.
Today, many people have thousands of photos on their phones, but they rarely look at them. A printed vintage photo or a fine art print commands attention. It asks you to stop and look. It becomes a treasure for the family.
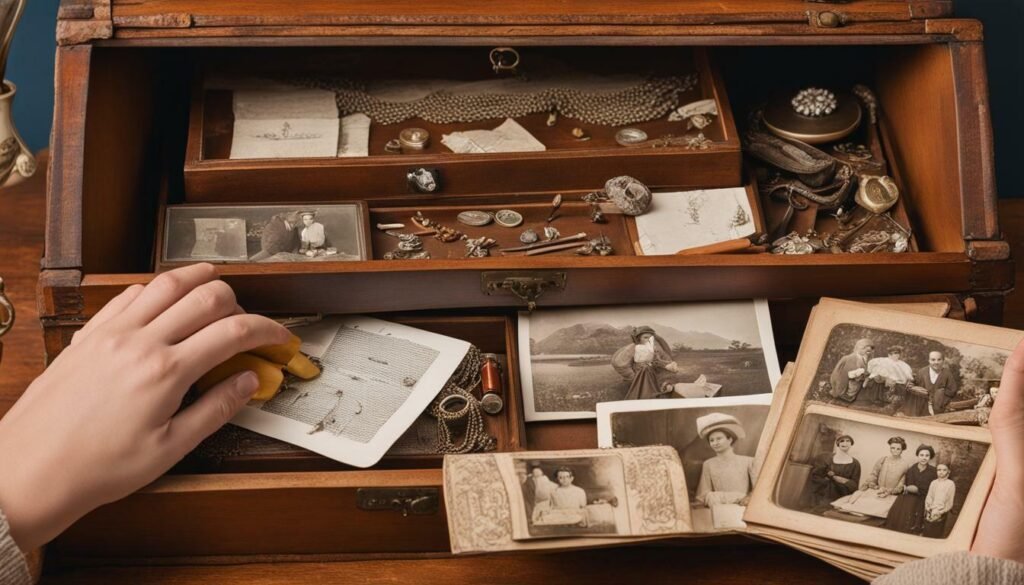
Identifying Different Types of Old Photographs (Daguerreotypes, Tintypes, Cabinet Cards)
To save your photos, you need to know what kind they are. Here are three common types you might find in an old collection:
- Daguerreotypes: These are very old photos, mostly from the 1840s and 1850s. They are made on a silver-coated copper plate. The picture looks like it is on a mirror. If you tilt it, the image might disappear or look negative. They are usually kept in small cases with glass covers.
- Tintypes: These were popular during the Civil War era. The image is printed directly onto a thin sheet of metal (iron, not actually tin). They are usually dark and sturdy. You can often find these loose or in paper sleeves.
- Cabinet Cards: These became popular in the late 1800s. It is a paper photograph glued onto a thick piece of cardboard. The cardboard usually has the photographer’s name printed at the bottom. These were very common for family portraits.
Best Practices For Handling and Storing Heirloom Photos
Handling old photos requires a gentle touch. The oils on your fingers can damage the image over time. It is always a good idea to wash your hands and dry them completely before touching any heirloom photos.
For very old or valuable items, wearing white cotton gloves is the safest way to go. Storage is just as important as handling.
You want to make sure your photos are safe from things that can hurt them, like water, bugs, and bad chemicals.
The Importance of Acid-Free and Lignin-Free Materials
Paper is made from wood, and wood has natural acids in it.
Over time, these acids can turn the paper yellow and make it brittle. This is why old newspapers crumble so easily. When you store your heirloom portraits, you must use archival materials. This means boxes, folders, and sleeves that are “acid-free” and “lignin-free.”
These materials are made specifically to protect paper. They stop the photos from rotting. If you put a fine art print in a cheap cardboard box, the acid from the box will move to the photo and ruin it.
Always check the label to make sure you are buying safe storage supplies.
Controlling Environment: Temperature, Humidity, and Light
Photos are like people; they like to be comfortable.
They do not like to be too hot or too cold. The best place to store them is in a main part of your house, like a closet in a bedroom or hallway.
- Temperature: Keep it cool and steady. Attics are too hot, and basements can be too damp. Big changes in heat can make the paper expand and shrink, which causes cracks.
- Humidity: This is the amount of water in the air. High humidity can make mold grow on your photos. Low humidity can make them dry out and curl.
- Light: Sunlight is very bad for photos. UV rays fade the image very fast. Never store photos where the sun can hit them.
How to Safely Remove Photos From “Magnetic” Or Sticky Albums?
Many of us have those old “magnetic” photo albums from the 1970s and 1980s. These have sticky pages with a clear plastic sheet over them.
Sadly, the glue in these albums is very bad for photos. It is acidic and gets harder over time.
Removing photos from these albums can be scary. Do not just rip them out. Here is a safe method:
- Use Dental Floss: Take a piece of unwaxed dental floss.
- Slide Gently: Hold the floss flat against the page. Gently slide it under the corner of the photo.
- Sawing Motion: Use a gentle sawing motion to cut through the glue behind the photo.
- Go Slow: Take your time. If the photo is stuck tight, do not force it. You might need a professional’s help.
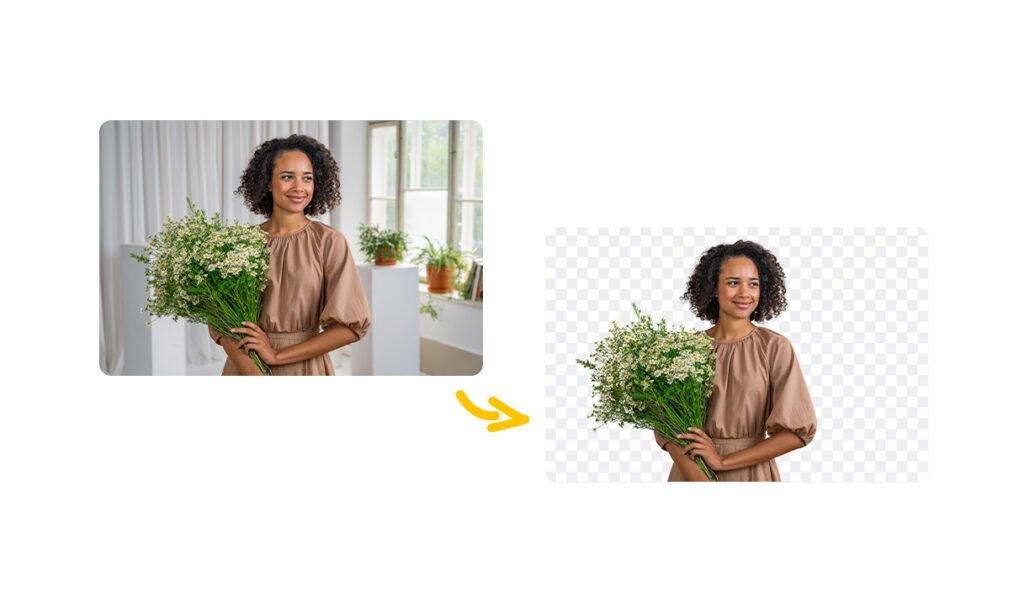
How to Digitize Heirloom Photos For Future Generations?
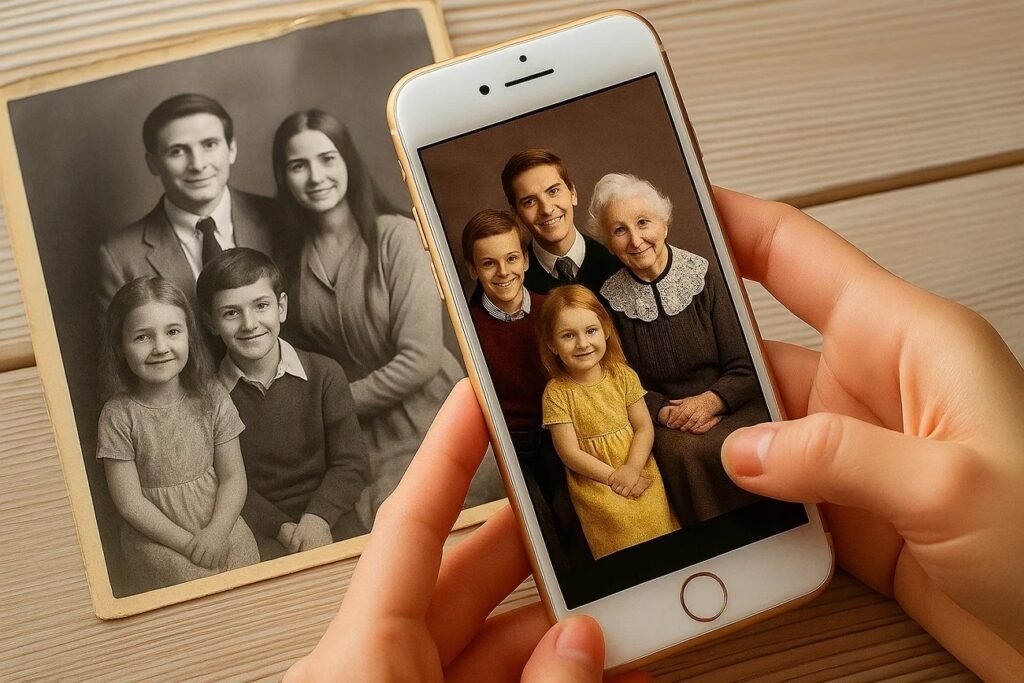
Making digital copies of your photos is a great way to ensure they last forever. Even if something happens to the original paper, you will still have the image. This also makes it easy to share pictures on social media with family members who live far away.
Choosing the Right Scanner Vs. Using A Camera
For the best results, a flatbed scanner is usually better than a camera. A scanner lays the photo flat and uses even light.
This stops shadows and glare. If you do not have a scanner, you can use a high-quality digital camera or a smartphone.
If you use a camera, put the photo near a window with soft, natural light. Do not use a flash, as it will cause a bright white spot on the picture. There are also apps designed to scan photos that help fix the angle automatically.
Resolution Settings (DPI) For Best Print Quality
When you scan a photo, the computer will ask for the DPI. This stands for “Dots Per Inch.”
- 300 DPI: This is good for viewing on a screen or making a copy that is the same size as the original.
- 600 DPI: This is better if you want to make the photo bigger later.
- 1200 DPI: Use this for very small photos, like a postage stamp size, so you can blow them up large.
Higher DPI means a bigger file size, but it captures more detail. For heirloom photography, aim for at least 600 DPI.
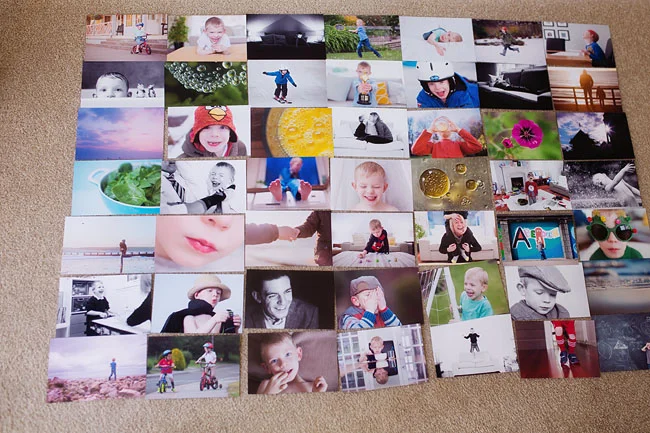
Organizing and Backing Up Your Digital Archive
Once you have your digital files, you need to keep them organized.
- Name Files Clearly: Instead of “IMG_001,” name it “Grandma_Wedding_1950.”
- Use Folders: Group photos by year or by family name.
- Back Up: Save your files in three places. Keep one on your computer, one on an external hard drive, and one in the cloud (online storage). This keeps your digital downloads safe even if your computer breaks.
Restoration Techniques For Damaged Heirloom Photos
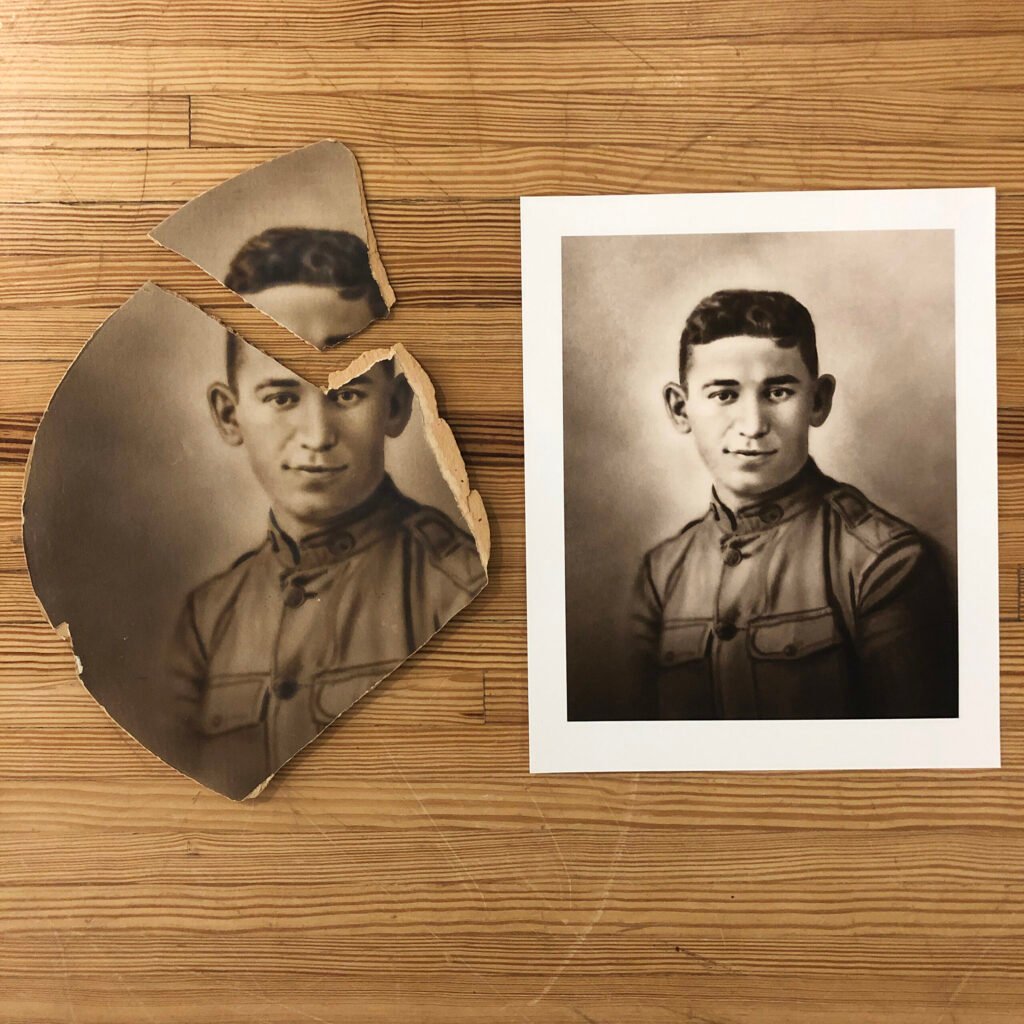
Sometimes, the photos we find are already damaged.
They might be torn, faded, or stained. Restoration is the process of fixing these problems to make the photo look new again.
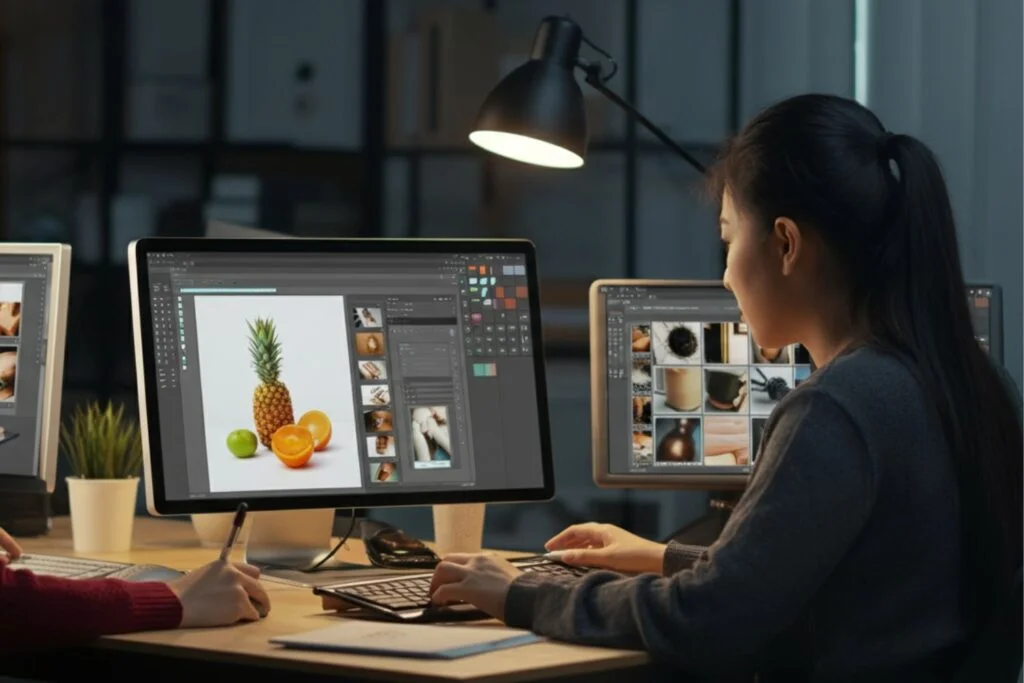
DIY Digital Restoration Software Options
You can fix many problems yourself using a computer. You do not need to paint on the original photo. Instead, scan it and fix the digital files.
- Crop: Cut off ragged edges.
- Contrast: Adjust the light and dark settings to make a faded photo look clearer.
- Heal Tools: Many programs have a “spot healing” tool. You just click on a scratch or dust spot, and the software fixes it.
When to Hire A Professional Photo Restorer?
If a photo is very special or very damaged, you should hire an expert.
If the photo is stuck to glass, ripped into many pieces, or has water damage on the face, do not try to fix it yourself. A professional knows how to save physical paper and can do advanced digital work.
They can treat your heirloom portraits with the care of a surgeon.
Dealing with Fading, Tears, and Water Damage
- Fading: This happens from light. You can often bring back color and contrast digitally.
- Tears: Keep the pieces together in a plastic sleeve. Do not use regular clear tape to fix it! The tape will turn yellow and ruin the photo.
- Water Damage: This usually looks like a stain or a wave in the paper. This is very hard to fix on the original, so digital restoration is the best choice here.
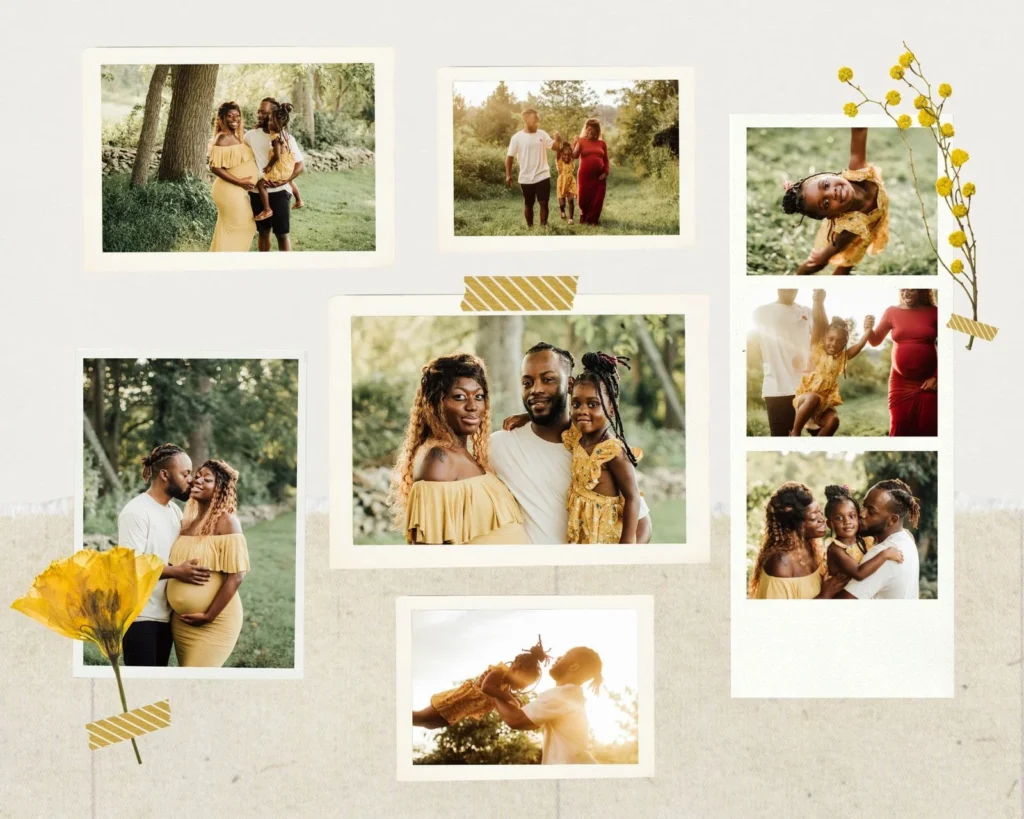
Creative Ideas to Display Heirloom Photos in Your Home
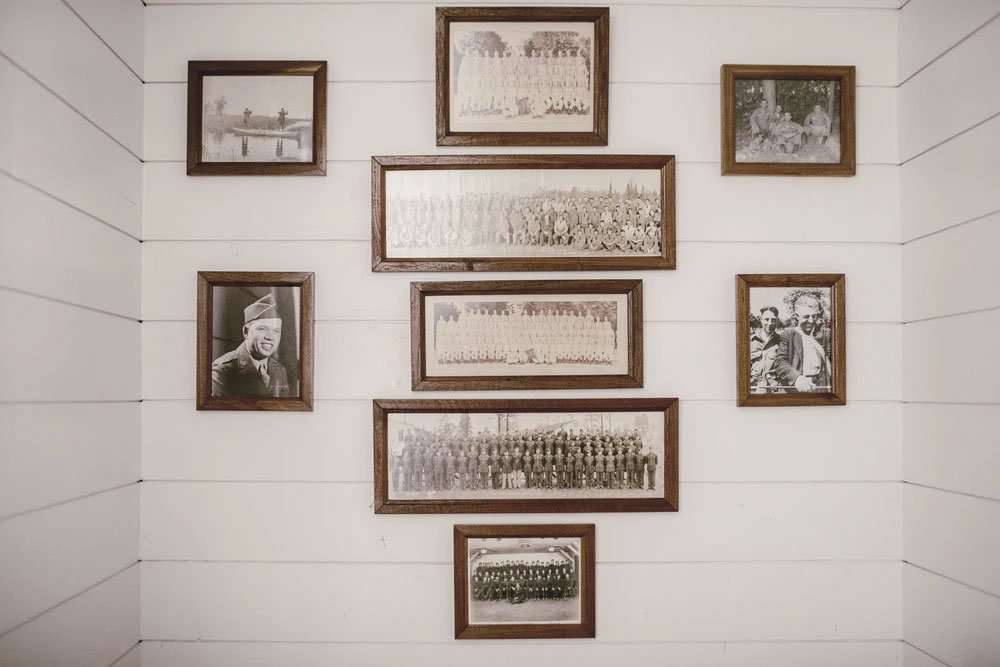
You should enjoy your photos, not just hide them in a box. Displaying them turns your home into a gallery of your family’s story.
It is a lovely way to honor your ancestors and show your children’s heirloom photography side by side.
Creating A Gallery Wall Without Damaging Originals
A gallery wall is a collection of photos hung together. It looks beautiful. But remember, the sun kills photos.
The best trick is to scan your original heirloom photos and print new copies. You can print them as a fine art print on nice paper.
Frame the copies and keep the originals safe in a box. This way, you can have a sunny wall of photos without worrying about them fading. You can mix old black-and-white photos with new family portraits for a lovely look.
Designing Modern Photo Books with Vintage Pictures
Photo books are a modern version of the old photo album. You can design them online using your scanned images.
You can add text to tell the stories behind the pictures. This is much better than a shoebox full of loose pictures.
You can print multiple copies so every child and grandchild gets one. It is a true artwork that sits on your coffee table.
Unique Gift Ideas Using Ancestral Imagery
Photos make the best gifts. Here are some ideas:
- Framed Prints: A nice frame with a restored photo of a grandparent is a tear-jerker gift for a parent.
- Lockets: Put a tiny photo inside a locket necklace.
- New Traditions: You can start a new tradition. Book a heirloom session for your own children. In the South, for example, there is a southern tradition of doing formal portraits. Moms often choose heirloom outfits like white dresses or classic suits. You pay a session fee, spend a couple of years enjoying the photos, and then pass them down. It creates a link between the past and present.
FAQ’s:
How Can I Find A Professional Heirloom Portrait Photographer Near Me?
To find the best photographer, search for someone who specializes in heirloom portraiture.
Look at their portfolio. Do they show creamy skin tones and a classic, clean look? In cities like Atlanta, Georgia, there are photographers like Dana who are famous for this style. They usually charge a session fee to book the time. It is a first step to creating beautiful art.
What is the Best Way to Label Heirloom Photos Without Ruining Them?
Never use a ballpoint pen.
It presses too hard, and the ink eats the paper. Use a soft pencil (like a 2B pencil) and write lightly on the back. Or, buy special photo-safe marking pens. Writing the names and dates is a good reason to go through your collection, so the family’s story is not lost.
Can I Display My Original Heirloom Photos on the Wall?
We do not recommend it. Light and humidity will damage them. It is better to get a high-quality copy or a fine art print made for the wall. Keep just the photos that are originals in safe storage.
How Do I Clean Dirty Heirloom Photos?
Be very careful. You can use a soft brush to dust them off. Do not use water or cleaning sprays. If there is dirt stuck on the photo, take it to a professional.
What DPI Should I Use When Scanning Heirloom Photos?
Use at least 600 DPI. This creates large digital files that allow you to print the photo bigger than the original size. It ensures the digital downloads are high quality.
How Do I Stop My Heirloom Photos From Curling?
Curling happens because of dry air. Store your photos flat in a box that is packed somewhat tight, but not too tight. Using archival materials like polyester sleeves can help hold them flat.
Are Heirloom Photos Only Meant For Families?
No! While family portraits are common, heirloom photography can be for anything.
A wedding day, a newborn, or even a beloved pet can be a subject. It is about creating timeless portraits that matter to you. Some people do limited number of sessions a year just to capture their life right now.
Can I Digitize Old Heirloom Photos to Preserve Them?
Yes, absolutely. This is the best way to save the image. Once you have the file, you can order custom framing or make gifts. It is much much fun to see old photos come to life on a computer screen.
Conclusion
Preserving heirloom photos is a labor of love. It takes time to sort, scan, and store them properly. But the result is worth it. You are saving your history. You are making sure that the portraits of their children and your ancestors are there for the future.
Whether you are restoring a 100-year-old tintype or booking a heirloom photography session in Atlanta with a pro like Dana, you are creating artwork. You are making sure the faces of the people you love do not fade away.
From the sitting fee to the gallery of final photos, every step is an investment in memory.
We hope this guide helps you take that first step. Get your photos out of the basement. Scan them. Display them. Celebrate your family heirlooms. Because in the end, these photos are the most beautiful pieces of art you will ever own.