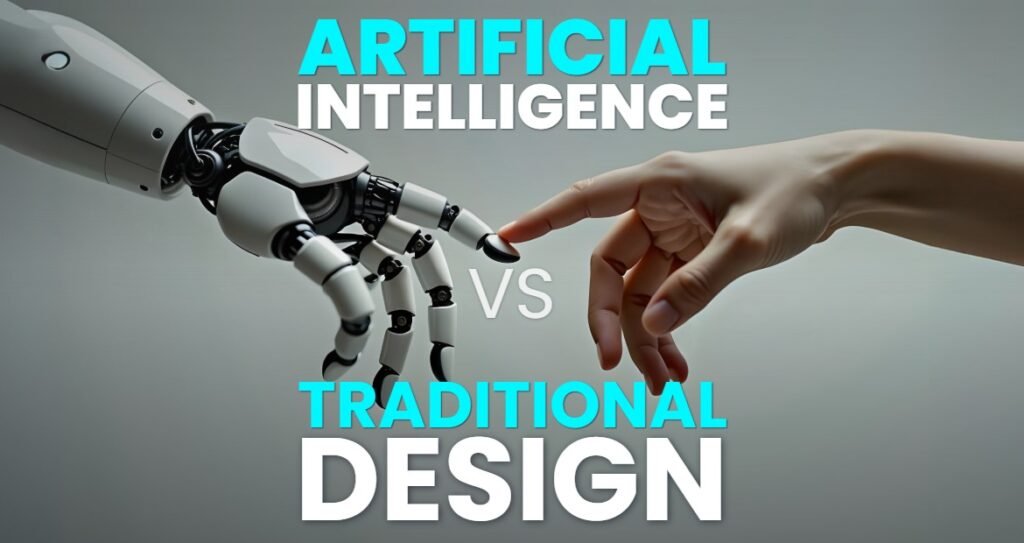
Have you ever drawn a picture on a piece of paper and wished it could look real? We know that feeling well. You have these amazing, creative ideas in your head. You grab a pencil and put it on paper. But looking at the paper, it just looks like lines. It does not look like the real world yet.
At Designers Choice, we want to help you change that. We want to help you turn your drawing into a masterpiece.
Bringing a sketch to life is an exciting part of the creative process. It is where your imagination meets reality.
In the past, this was very hard to do. You needed expensive supplies and years of training. Today, things are different.
We have new possibilities thanks to technology. Whether you want to use artificial intelligence or learn to paint on a computer, you can do it.
This guide is for everyone. It does not matter if you are a professional artist or someone who just likes to draw for fun. We will show you how to take your simple sketches and turn them into amazing digital art. We will look at advanced features in software and easy app options for your phone. We are here to help your artistic journey be fun and successful.
Let’s learn how to take your sketch and make it shine.
Understanding the Sketch to Life Process
To start, we need to know what we are doing. What does it actually mean to bring a sketch to life? It sounds like magic, but it is really just a series of simple steps.
What Does It Mean to Bring A Sketch to Life?
When we say “bring a sketch to life,” we mean taking a flat drawing and giving it depth. A drawing on paper is 2D. It looks flat. A realistic image looks 3D. It has light, shadow, and texture. It looks like you could reach out and touch it.
Imagine you draw a cat. The drawing shows the shape of the cat. But to bring it to life, you need to show the fur. You need to show the light shining in its eyes. You need to show the shadow on the floor. This process transforms rough sketches into finished artwork.
There are many ways to do this. You can use colors and paints. You can use a computer to make digital images. You can even use an AI sketch generator. The goal is always the same. You want to convert sketch content into something that looks finished and professional.
This is great for social media posts, school projects, or just to show your friends.
The Evolution From Pencil to Digital Reality
Long ago, artists only had paint and canvas. If they wanted to turn a sketch into a painting, they had to mix oils and wait days for paint to dry.
It was a slow process. Then came computers and graphic design. Artists started using mouse and keyboard to make art. This changed everything. It made art creation faster. You could undo a mistake with one click.
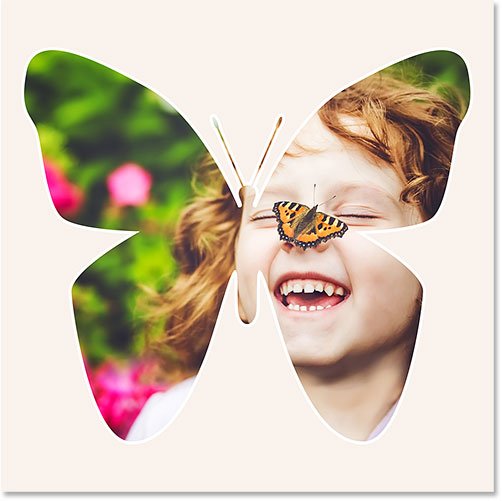
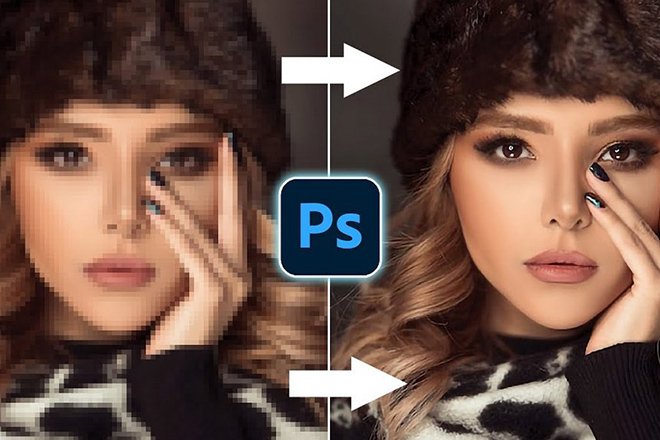
Now, we have entered the world of ai. Artificial intelligence has changed the game again. We now have the ai image generator. These tools can look at your drawing and guess what you want it to look like. They can turn simple sketches into generated images in seconds.
You can choose various styles. You can make it look like a cartoon or like a photo. The bridge between a pencil drawing and realistic digital art is shorter than ever before.
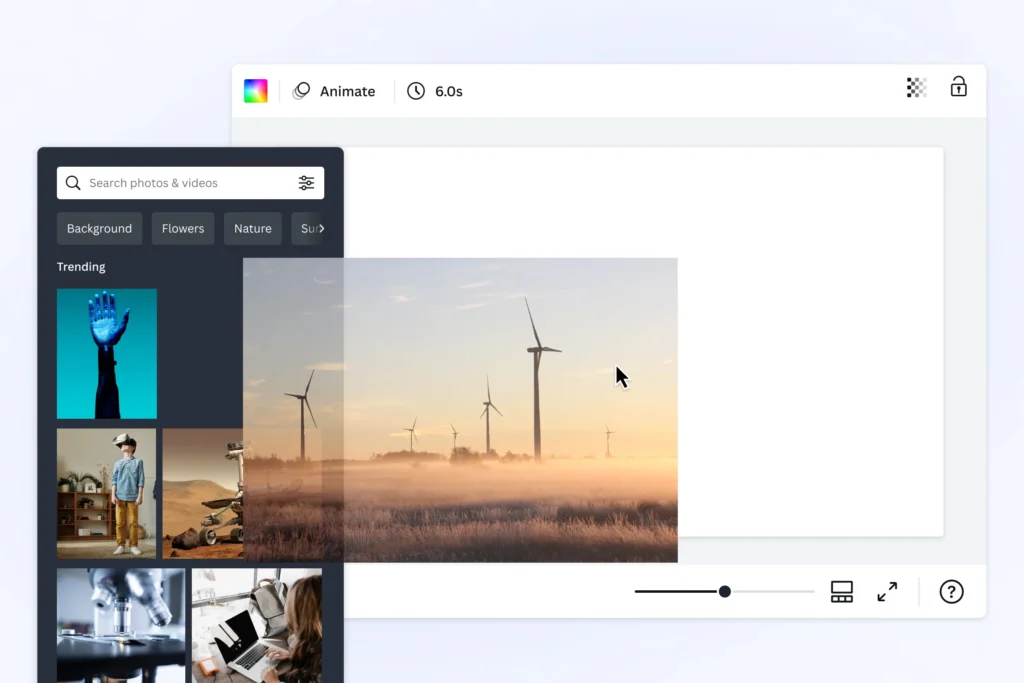
Best Tools to Turn A Sketch to Life
To do a good job, you need the right tools. There are many art tools out there. Some are for new users and some are for pros.
Let’s look at the best ones.
Top AI Tools For Instant Rendering
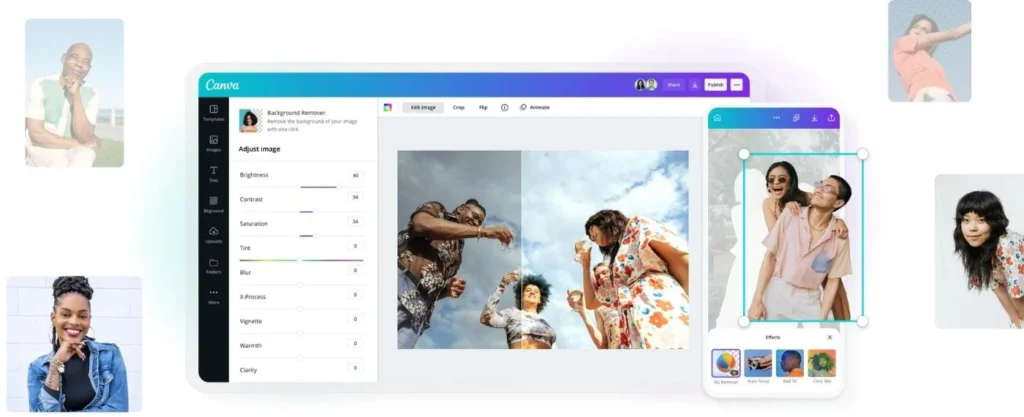
If you want fast results, an ai art generator is a great choice. These tools use smart computer programs to do the hard work for you.
You upload your picture, and the ai does the rest. Many people love using an ai sketch generator because it has an intuitive interface.
This means it is easy to use. You do not need to read a big manual. You usually just upload a photo of your drawing. Then, you might type a text prompt. A prompt is a sentence telling the ai what to do. For example, you could type, “Make this cat look like a real fluffy cat in the sun.”
The image generator then gives you many options. You can pick different styles. You might want anime style, or you might want it to look like a painting by Vincent van Gogh. These generators are powerful.
They can act as an image converter, changing lines into full pictures.
This is the power of sketch to life ai. It opens up new possibilities for people who cannot paint but have great ideas.
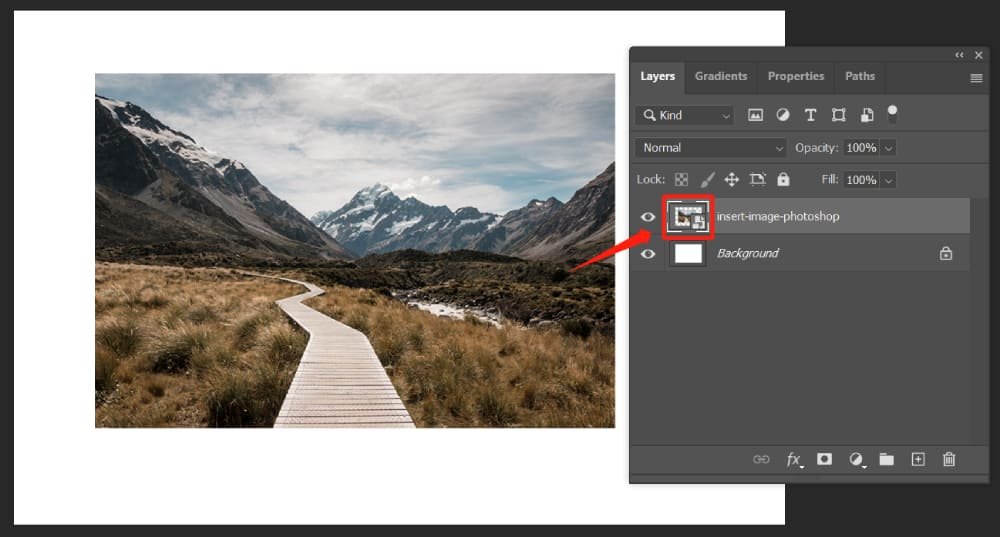
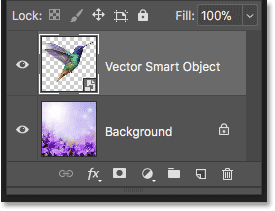
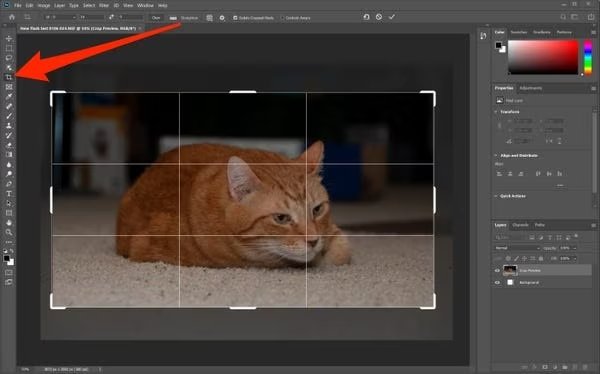
Professional Digital Painting Software (Procreate & Photoshop)
If you want more control, you might like professional software.
Apps like Procreate and Photoshop are very popular. These are not automatic like an ai image generator. You have to do the painting yourself.
However, they give you the best results for creative projects. You can choose every color. You can draw every single hair on the cat.
These programs let you make high-quality illustrations.
You can save your work as a PNG or other file type. These tools are great for making digital art that looks exactly how you want.
You are not guessing what the computer will do. You are the boss. It takes more time to learn, but the results are worth it.
Many professional artist users prefer this method because they can put their own personal touch on the artwork.
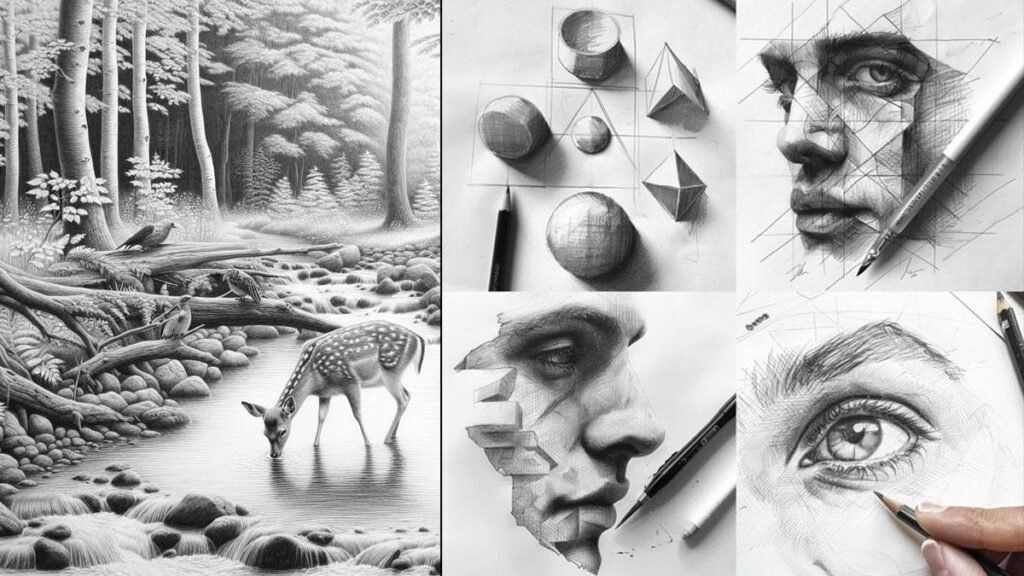
3D Modeling Apps For Realistic Depth
For the most realistic look, some people use 3D apps. This is different from drawing. It is like building a model on your computer.
You take your sketch and use it as a map. Then you build a 3D shape that matches your drawing. This is great for animation. If you want to make a character for a movie or a game, you need 3D tools.
These apps help you get the lighting perfect. The computer calculates exactly how light hits the object. This creates a very realistic image. It is a bit harder to learn than an AI sketch tool, but it is very fun. It truly brings your creative ideas into the real world of 3D space.
Step-by-Step: How to Transform A Sketch to Life
Now that we know the tools, let’s talk about the process. How do you actually go from paper to a finished picture? Here are the simple steps.
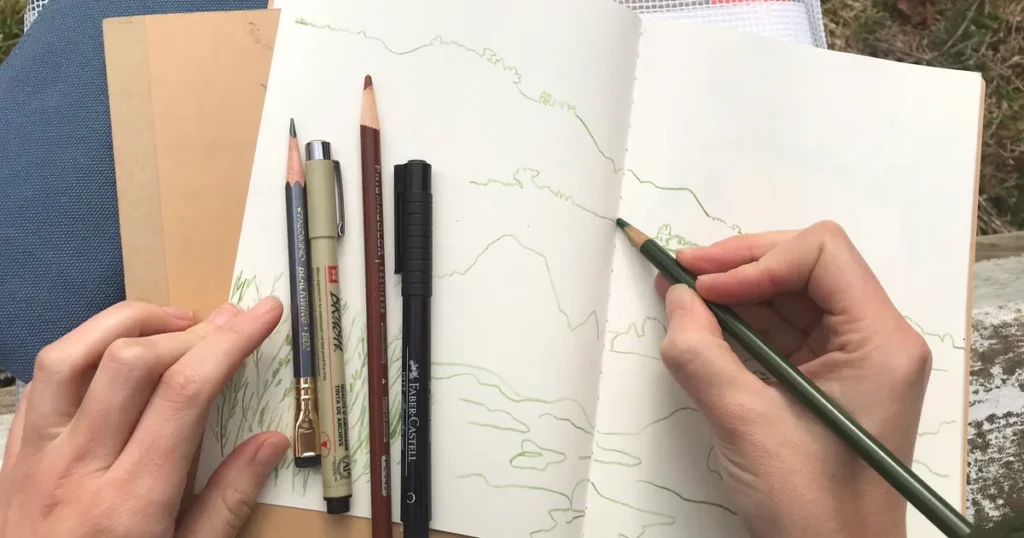
Cleaning Up Your Rough Outline
First, you need a clean drawing.
If you drew on paper, take a good photo of it or scan it. Often, rough sketches have messy lines. You might have eraser marks or smudges.
You need to clean this up. If you use an app, you can increase the contrast. This makes the dark lines darker and the white paper whiter. If you are using an ai sketch generator, a clean image helps the computer understand your drawing better.
If your lines are too messy, the ai might get confused. It might think a smudge is a part of the drawing.
So, take time to make your outline clear. If you are working digitally, you can trace over your rough lines on a new layer to make them neat.
When you are done, you can download or save this clean version.
Establishing A Strong Color Palette
Next, think about color. Color changes the feeling of the picture. If you use bright colors, it looks happy. If you use dark colors, it looks serious.
You should pick your colors before you start painting. This is called a color palette. Even if you use an image generator, you can tell it what colors to use in the text prompt. You can say, “blue and purple theme.”
Using various artistic styles requires different colors. Anime might use bright, flat colors.
Realistic digital art uses many shades of colors mixed. Having a good plan for your colors will make your final digital images look much better.
Mastering Light, Shadow, and Texture
This is the most important part. To bring a sketch to life, you must add light and shadow.
Imagine where the light is coming from. Is it the sun? Is it a lamp? The side of the object facing the light should be bright. The other side should be dark. This creates a shadow. Shadows give objects weight. They stop them from looking like floating stickers.
Texture is also key. Texture is how something feels. Is it smooth like glass? Is it rough like a rock?
In digital art, you use special brushes to make these textures. An AI art generator is very good at this. It knows what a rock looks like and can add that texture for you. This detail turns a flat sketch into a deep, interesting image.
Advanced Techniques For A Realistic Sketch to Life Result

Once you know the basics, you can try harder things. These techniques help you get a very professional look.
Using Photobashing to Add Detail
“Photobashing” is a funny word. It means taking photos from the real world and pasting them into your drawing.
Let’s say you drew a knight in armor. Drawing all the metal details is hard. With photobashing, you can find a photo of real metal.
You cut out the metal part and paste it onto your knight. Then you paint over it to make it blend in.
This saves time. It also adds very realistic details. Professional artists do this all the time for movies and games. You can mix this with generated images from AI tools, too. You can take a texture from an AI image generator and paste it into your hand-drawn art.
This mix of art styles creates a very rich look.
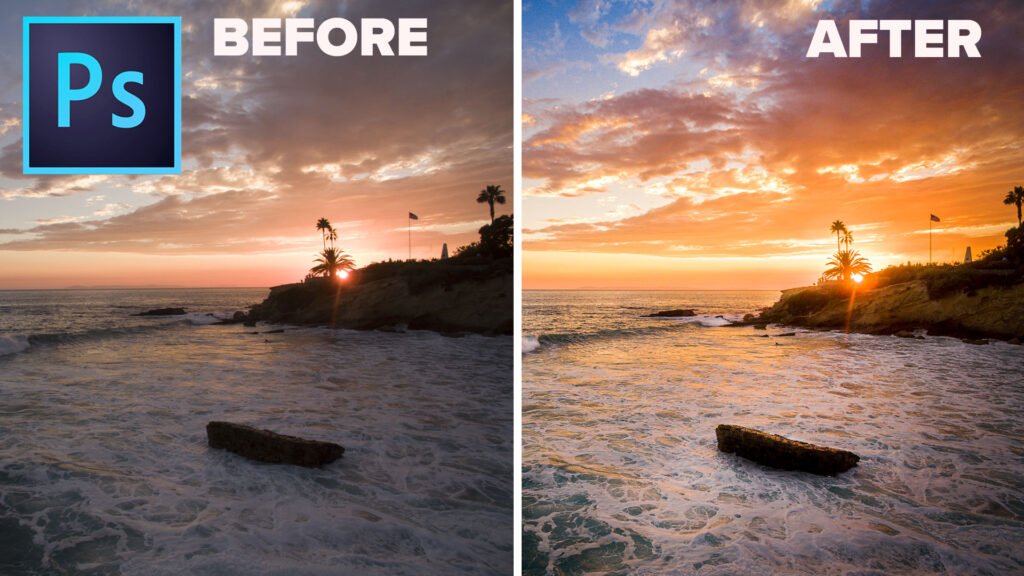
Applying Post-Processing Effects
Post-processing means “after work.” This is what you do after the painting is done. It is like putting a filter on a photo.
You can change the colors to make them warmer or cooler. You can add a glow effect to bright lights. You can add a little bit of blur to the background. This makes the main subject stand out. Most art tools have advanced features for this. Even simple apps on your phone have filters.
These small changes tie everything together. They make the digital images look like a finished movie scene. It gives your artwork a polished look.
Converting 2D Drawings Into 3D Models
We mentioned 3D before, but you can go deeper.
There are tools now that can look at a 2D drawing and build a 3D model automatically. This is a very new part of artificial intelligence.
You feed your sketch into the software. The software guesses the shape. It puffs it out like a balloon. Then you can rotate it and look at the back.
It is not always perfect, but it is getting better.
This is great for creative projects where you need to see an object from many angles. It helps you understand the volume of what you drew.
It is one of the most exciting parts of the world of AI right now.
Common Mistakes When Bringing A Sketch to Life
Learning takes time. Everyone makes mistakes. Here are some things to watch out for so you can learn faster.
Overworking the Details Early On
A big mistake is focusing on tiny details too soon. You might spend two hours drawing an eye perfectly.
But then you realize the head is the wrong size. Now you have to erase the perfect eye.
It is better to work on the whole picture at once. Start with big shapes. Get the colors right. Get the shadows right. Only do the tiny details like eyelashes or blades of grass at the very end. This helps your creative process flow better. It stops you from getting stuck.
Ignoring Perspective and Anatomy
Perspective means how things look in space. Things far away look smaller. Things close up look bigger.
If you get this wrong, the picture looks weird. Anatomy means how bodies are built. If an arm is too long or a leg bends the wrong way, people will notice. Even if you use an AI sketch generator, you need a good base drawing.
If your rough sketches have a bad perspective, the AI might make a strange image. Practice drawing basic shapes like cubes and cylinders.
This helps you understand space. It will make your sketch-to-life results much more believable.
Relying Too Heavily on AI Without Refinement
AI is a tool, not a magic wand. Sometimes the generated images have errors. Hands might have six fingers.
Eyes might look in different directions. Do not just accept the first image the generator gives you. You should fix it. Take the image into an art app.
Paint over the bad parts. Fix the weird hands. Using sketch to life AI is a collaboration. The AI starts the work, but you finish it.
This makes the art yours. It ensures the quality is high. Don’t be afraid to mix various styles and tools to get the best result.
FAQ’s:
What is the Best Free App to Bring A Sketch to Life?
There are many great free apps. For manual drawing, “Autodesk Sketchbook” is very popular. It has a nice, clean screen. For AI, there are many online tools. Some let you try for free. Look for sketch generator apps on your phone’s store. They often have simple steps for new users.
Can AI Really Turn A Rough Sketch Into A Realistic Image?
Yes! An AI sketch generator is very smart. It can look at messy lines and guess what you meant. It can turn a stick figure into a human. However, the better your sketch is, the better the result will be.
If you give it more details, it gives you a better realistic image.
Do I Need A Drawing Tablet to Bring My Sketch to Life Digitally?
No, you don’t. You can use a mouse. You can use your finger on a phone or tablet. However, a drawing tablet helps a lot.
It feels like drawing with a pencil. It gives you more control. If you want to be a professional artist, a tablet is a good investment.
But for fun, creative projects, you don’t need one.
How Long Does It Take to Turn A Sketch Into Finished Art?
It depends on the method. If you use an image generator, it takes less than a minute. If you paint it yourself, it can take hours or days. It depends on how much detail you want. Don’t rush. Enjoy the art creation process.
Is “Sketch to Life” Used in Professional Industries?
Yes, absolutely. Architects sketch buildings before making blueprints.
Game designers sketch characters before modeling them. Movie directors sketch scenes (called storyboards) before filming.
Taking a sketch and making it real is a huge part of many jobs. It is used in fashion, car design, and graphic design.
Conclusion
Turning a sketch to life is a magical skill.
It lets you share your vision with the world. You can take a thought from your brain and make it real for everyone to see.
At Designers Choice, we believe everyone has creativity inside them. We hope this guide helps you use tools like digital art software and ai image generator apps to express yourself. Don’t be afraid to try different styles.
Experiment with artistic styles like anime or realism.
Whether you want to make illustrations for a book, social media posts, or just cool art for your room, you have the power to do it. The technology is here. The art tools are ready. Now, all you need is your imagination.
So grab your pencil or open your app. Start your sketch. Watch it transform. We can’t wait to see the masterpiece you create.