At Designers Choice, we believe in empowering creators with the right tools and knowledge. In today’s digital world, many of those creators are young people using apps to express their ideas.
A popular choice for this is CapCut, a powerful and free video editing app.
But as it grows in popularity, parents and guardians are asking an important question: Is CapCut safe for kids?
This article will give you clear information about the app’s features, the potential risks involved, and how you can help your child use this creative tool safely. Our goal is to provide the insights you need to make the best choice for your family’s online safety.
Is CapCut Safe For Kids?
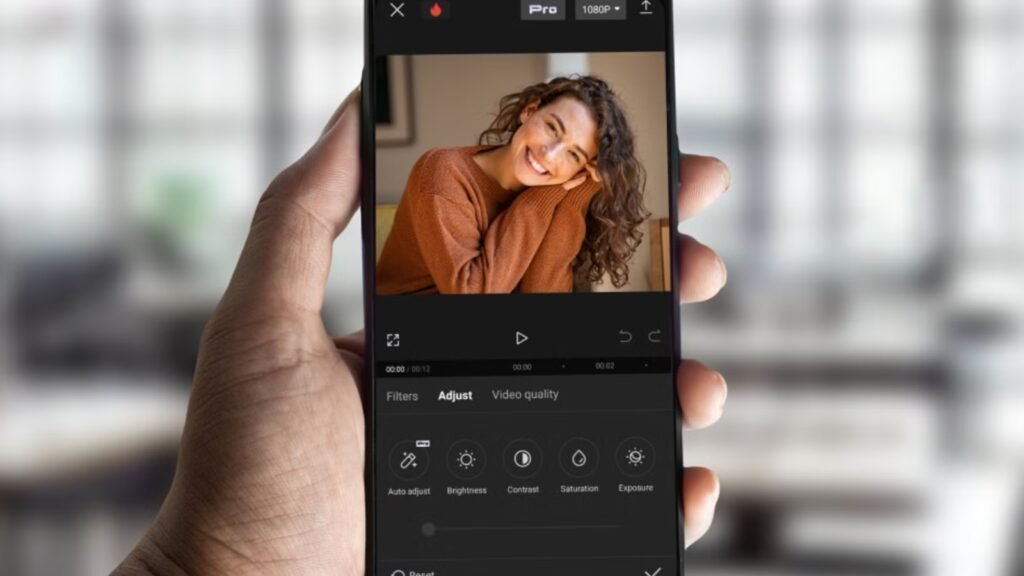
CapCut is mainly a video editor, not a social media platform. However, it has features that can expose children to risks.
Let’s look at the good and the bad parts.
- No Social Media Platform Built-In: Unlike TikTok or Instagram, CapCut is not a social media app. Children use it to edit videos, not to post them for followers within the app itself. They can save their finished videos to their device or share them on other social media platforms, but the app itself is an editing tool.
- No In-App Chat Or Comments: CapCut does not have a direct messaging or public comment feature. This is a good safety feature because it means strangers cannot contact your child directly through the app. This reduces the risk of unwanted communication, which is a common problem on many social media apps.
- Access to Public Templates and Sounds: CapCut offers a wide range of video templates and sounds that anyone can use. While learning how to add music in CapCut makes video editing fun and easy, many of these templates are created and shared by other users. This means your child could come across templates that use inappropriate content, bad language, or adult themes.
- No Age Verification System: CapCut does not have a strong age verification system. While its terms of service state users should be 13 or older, a child can easily sign up by entering a false birthdate. This lack of parental controls means younger children can access the app without any real barriers.
- Data Privacy Considerations: Like many free apps, CapCut collects user data. According to CapCut’s privacy policy, this can include personal information like your IP address, location, and device information. These data privacy concerns are important for parents to know about.
- Appearance Filters and Self-Esteem: The app includes many filters that can change a person’s appearance. While fun, spending too much time with these filters might affect a young child’s self-esteem or body image, making them feel like they need to look perfect.
- Risk of Exposure to Strangers: Though there is no chat feature, the template library connects users in a way. Children are exposed to user content from strangers all over the world. This is an indirect risk of exposure that parents should monitor.
- Hidden Dangers in Unofficial Versions: Some people download CapCut from websites other than the official Google Play Store or Apple App Store. These unofficial versions can contain malware or viruses that can steal personal data from the child’s device.
Potential Risks of Using CapCut For Kids
While CapCut can be a great creative tool, there are several potential risks that parents should be aware of.
- CapCut’s Templates: A Gateway to Explicit Content: The biggest risk on CapCut is the template library. Users can create video templates from popular clips, including movie scenes or TikTok content. Some of these templates may contain explicit content, violence, or suggestive themes that are not suitable for younger users.
- Pressure to Follow Trends: Many CapCut templates are based on viral social media trends. This can create pressure for children to copy these trends, some of which may be risky or inappropriate. This constant exposure makes it feel like a part of the social media world.
- Similarity to TikTok Content: Because CapCut is owned by the same company as TikTok, Bytedance, much of the content and trends are similar. Many parents often ask does TikTok owns CapCut, and since the answer is yes, you should know that CapCut can expose them to the same type of content. If you are trying to limit your child’s exposure to TikTok, please be aware of this connection.
- Evasion of Censorship Controls: Users sometimes find clever ways to get around censorship. They might misspell words or use symbols to include inappropriate language in their templates. This makes it hard for automated content filters to catch everything, and explicit content can reach your child.
- Risk of Unmonitored Interactions: Even without direct messaging, kids are interacting with content made by strangers. They are using their templates and audio clips. This interaction is unmonitored and can expose them to ideas and content you might not approve of.
- Reporting Inappropriate Content: CapCut does have a system for reporting inappropriate templates. However, this relies on users to find and flag bad content. It is not a proactive system, meaning the inappropriate content is already there for someone to see before it can be removed.
- History Tracking and Deletion: CapCut keeps a watch history of the templates a user has viewed. A child might delete their history to hide what they have been looking at. It is a good idea for parents to check this history from time to time if they have concerns.
- Shared Collaborative Spaces on Desktop: The desktop version of CapCut allows for collaborative spaces where multiple users can work on a project. This feature could be misused and connect children with strangers if they are invited to a public space. This is another area where parental guidance is needed.
- Data Privacy Concerns: Data privacy is a significant issue. The app collects user data, which can be shared with third parties for advertising and other purposes. Parents should read CapCut’s privacy policy to know what personal data is being collected from their child’s device.
How to Protect Your Child While Using CapCut?

If you decide to let your child use CapCut, there are steps you can take to make it a safer experience.
- Talk to Your Child: Have an open conversation about online safety. Explain the potential risks, like inappropriate content in templates, and teach them to come to you if they see anything that makes them uncomfortable.
- Use It Together: Especially for younger children, a great way to start is by using the editing app together. This allows you to guide them and see what kind of content they are interacting with.
- Set Screen Time Limits: Use your phone’s built-in settings or a parental control app to set time limits for CapCut. This helps prevent them from spending too much time on the app.
- Review Their Projects: Ask to see the videos they edit. This is a fun way to engage with their creativity and also monitor the templates and sounds they are using to create their own clips.
- Check Template History: Periodically check the template history on their CapCut account. This can give you an idea of the content they are viewing.
- Use Without an Account: It’s possible to do basic video editing on CapCut without creating an account. You might also be wondering does CapCut has a watermark if you edit this way; generally, using the app without logging in is safer as it limits data collection and prevents access to some online features.
- Install from Official Stores: Make sure you only download CapCut from the Google Play Store or Apple App Store to avoid harmful software.
CapCut Reviews: What Are Parents Saying?
Parent reviews for CapCut are mixed, showing that different families have different experiences.
Positive Reviews
Many moms and dads like CapCut. They think it is a great free video app for kids. Parents like it that their kids can make videos and be creative.
The app does not have social pressure like other apps.
Some parents say CapCut is a fun hobby for children. It helps teach kids good video skills and how to tell stories with pictures and words.
Parents believe this is a good way for children to spend time on screens. They see it as a safe choice for learning while having fun.
Negative Reviews
Some parents worry about how much personal information CapCut takes from users. Many unhappy reviews talk about bad videos in the app templates. These parents also say there are no good tools for parents to watch what their kids see.
They warn that weak filters in the app can make it unsafe for young kids.
How to Use the Same CapCut Account On Two Devices (Parent & Child)
One way to monitor your child’s activity is to share a CapCut account. This lets you see their projects and the templates they use.
- Step 1: Log Into the Same Account on the Parent’s Device: First, create a CapCut account. You can sign up using a Google, Facebook, or TikTok account. Then, log in to this same account on your child’s device and on your own phone or tablet.
- Step 2: Enable Cloud Sync For Shared Projects: In the CapCut settings, make sure that cloud synchronization is turned on. This feature automatically saves projects to the account, so a video edited on the child’s device will show up on the parent’s device.
- Step 3: Co-Edit Or Monitor Safely: Once synced, you can open your child’s projects on your device. You can see what templates and music they used. This allows you to monitor their activity without constantly looking over their shoulder.
- Step 4: Apply Basic Security Settings: Within the account, make sure you use a strong password. Also, regularly review the settings to see if any new features have been added that might affect your child’s safety.
Top Safe Video Editing App For Kids
If you decide that CapCut is not the right fit for your family, there are other safe video editing app options available. As designers and creators, we know how important it is to have the right tool for the job—especially one that provides a safe space for creativity to grow.
Here are some of the best alternatives that prioritize online safety for younger users.
Adobe Premiere Pro

Adobe Premiere Pro is a professional-level video editor used to make movies and TV shows. This is a great choice for older children who are very serious about learning video editing.
For those learning the basics of sound design, you can easily teach them how to remove background noise in Premiere Pro. Because it is advanced software for a computer, it does not have any social media features, video templates from other users, or exposure to TikTok content.
When editing clips, kids will also need to learn essential skills like how to rotate video in Premiere Pro. This completely removes the potential risks of seeing inappropriate content.
It’s a powerful creative tool that focuses only on editing your own clips.
While it is complex and has a cost, and you may want to compare the Adobe stock cost with other platforms, it offers a secure environment free from data privacy concerns related to social apps, making it a safe choice for focused learning.
If you are exploring different content sources, you might also be interested in a detailed Shutterstock vs Adobe Stock comparison.
Inshot
InShot is a popular video editing app available on the Google Play Store and Apple App Store. It is easier to use than professional software but still has a wide range of cool features.
Unlike CapCut, InShot has less focus on user-generated content from social media platforms, which lowers the risk of your child seeing explicit content. While it has stickers and music, the library is more controlled.
This makes it a good middle-ground option, offering more creative tools than basic apps without the same safety issues.
It’s a solid editing tool that gives kids creative freedom while offering a safer space for parental guidance.
Canva
Canva is mostly known for making graphics and posters, but it also has a simple and fun video editor. This is a wonderful and safe creative tool for young children, especially for making school projects or a basic video.
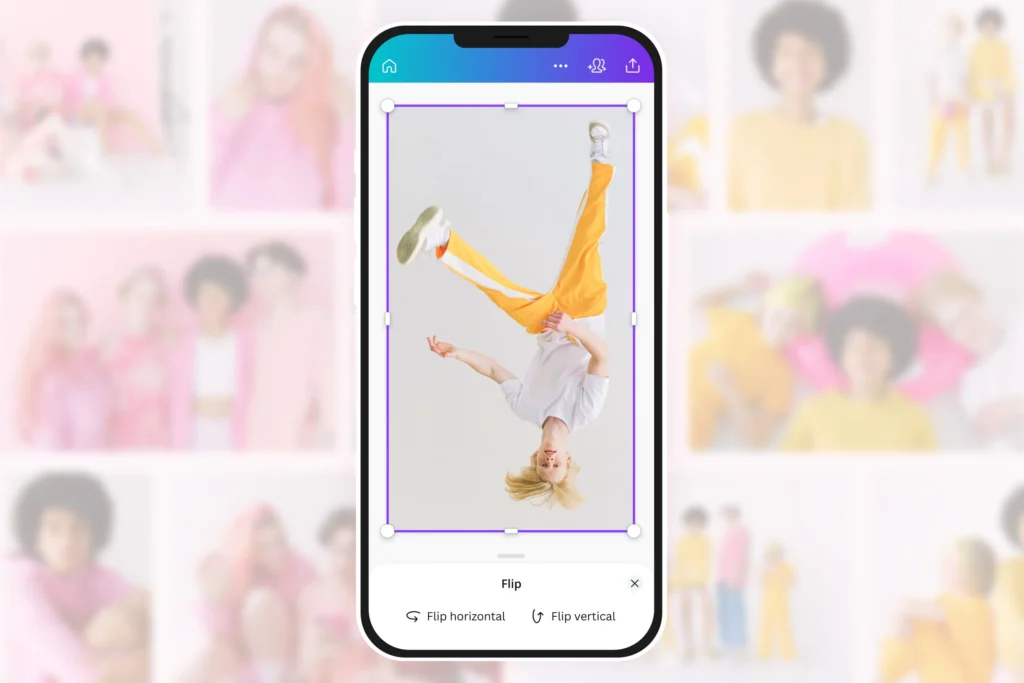
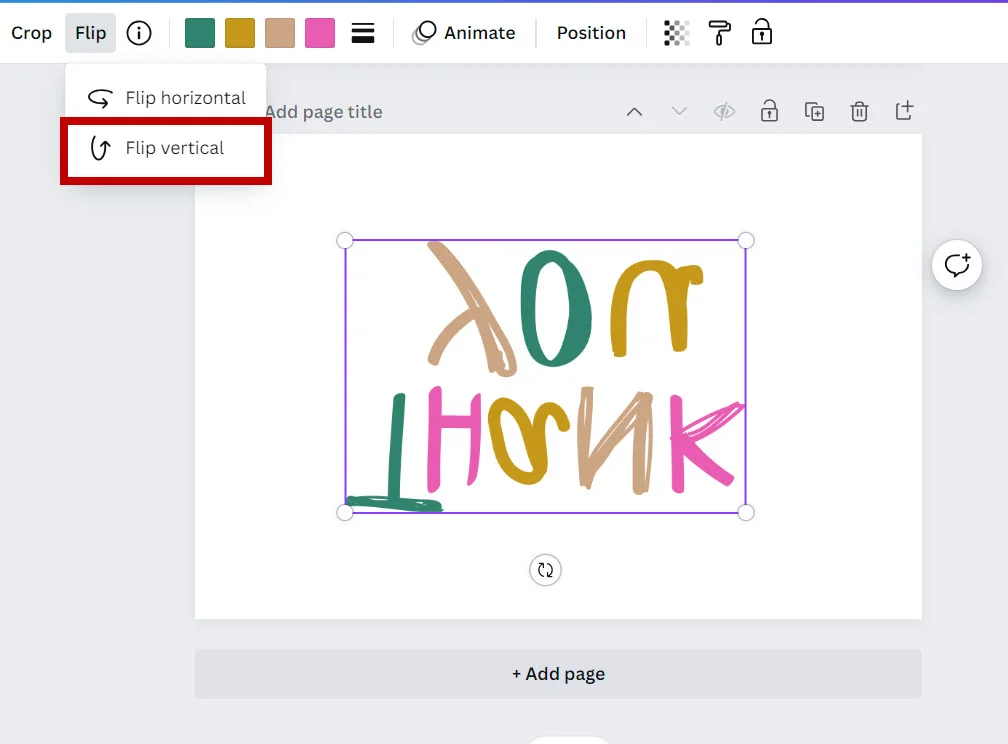
Learning how to manage simple design elements, such as how to flip an image in Canva or how to replace an image in Canva, is easy here.
Canva has very strong content filters, so it’s highly unlikely a child will find any inappropriate content. Because it’s used by schools all over the world, online safety is a top priority. It’s a great free video editing option that doesn’t have the same privacy concerns as other free apps.
For advanced graphic design projects, knowing how to fade an image on Canva can be helpful.
It teaches kids how to edit videos in a protected space, making it a good idea for their first editing app.
If they get serious about design, they might later look into questions like how much Canva Pro costs or whether Canva Pro is worth it.
KineMaster
KineMaster is a powerful mobile editing app for kids who want to do more with their videos. It lets you work with multiple layers of video, audio, and effects, similar to a desktop editor.
This app is more of a serious editing tool and less like social media apps.
It does not push trending templates or user content, which reduces the chances of seeing something you don’t want your child to see.
It is available on the Google Play store and offers a great way for older children to practice advanced techniques on their own clips. The focus is on creativity, not trends, creating a safer environment for young editors.
Kapwing

Kapwing is a video editor that works right in your computer’s web browser, so you don’t need to download anything.
This is a great choice for school projects because kids can work together on a video safely. It is a straightforward editing tool without the distractions of trending sounds or video templates from strangers.
This helps avoid potential risks found in other apps.
Kapwing is designed to be a utility for creating, not a platform for sharing with the world.
This makes it a much safer option, as there is no connection to a social media account and fewer data privacy concerns for parents.
iMovie (For Apple Users)

For anyone with an iPhone, iPad, or Mac, iMovie is one of the best and safest choices for young children.
It comes free on every Apple device and is very easy to learn. The best part is that iMovie is a completely self-contained editing app.
There are no social features, no user content, and no way for strangers to interact with your child.
This means there is zero risk of seeing inappropriate content.
Given the lack of parental controls on many other free apps, iMovie is a perfect choice because it’s safe by design. It’s an excellent creative tool for making a basic video or even a short movie.
DaVinci Resolve
DaVinci Resolve is another professional-grade video editor, and it has an amazing free version that is incredibly powerful.
For parents who want to know about export quality, the common question is Does Davinci Resolve have a watermark.
Like Premiere Pro, this is best for older children who are passionate about filmmaking and want to learn what the pros use.
Mastering the basics involves learning multiple tools like how to zoom in Davinci Resolve, how resolve crop video, and how to change aspect ratio in Davinci Resolve.
It is a desktop software with no social media integration, which means there are no privacy concerns or risks of exposure to explicit content.
The child’s device is safe from the data collection that happens on social media apps.
Learning audio skills, like how to fade audio in Davinci Resolve Or Davinci Resolve separate audio from video are part of the complex toolset.
It’s a complex tool, so it will take much time to learn, but it is a completely safe space for a young creator to edit their own clips and grow their skills, even for multi-clip workflows like davinci resolve merge clips.
Movavi
Movavi is a user-friendly video editor for computers that is a great balance between easy-to-use and powerful.
It’s a paid software, which often means a safer product for kids. You don’t have to worry about ads, user data collection for third parties, or public video templates that could contain inappropriate content.
Movavi provides a self-contained environment where a child can focus on being creative with their own video clips.
The software includes fun effects, titles, and music without needing to connect to an online community.
This makes it a safe and reliable editing tool that parents can trust on a child’s device.
Clipchamp

Clipchamp is a free video editing app from Microsoft that works online and as a desktop app.
It’s designed to be simple and accessible for everyone, making it a good choice for younger users who are just starting to edit videos.
Because it is made by Microsoft, it has better safety features and fewer privacy concerns than some other free apps.
It has some stock video and audio, plus simple templates that are curated and safe. This avoids the risk of user-generated TikTok content.
It is a good, basic video editor for quick projects without the dangers of a social media-connected app.
Toontastic 3D

Toontastic 3D is a free app from Google. It is made for young kids to make their own cartoons. The app helps kids tell stories, not just edit videos. Kids can draw their own people, move them, and record their voices. Then they can make short movies.
The app stays safe because it does not let kids talk to others or see what others make. There are no chats or ways to share or look at other users’ work. Parents do not have to worry about data privacy problems. Toontastic 3D is just a fun tool for being creative and playing.
For parents with young children, this app is a great way to teach video making without any of the risks found in other video apps.
FAQ’s:
Is CapCut Safe For Kids to Use?
CapCut can be safe for kids if parents watch over it closely. The main app lets users edit videos. But the app’s template library might have content that is not right for kids. Parents should check what their child sees and uses in CapCut to keep them safe.
Is CapCut Safe For Children of 08-13 Years Old?
CapCut’s terms of service require users to be 13. Is CapCut safe for 8-year-olds or 9-year-olds? No, due to the risk of explicit content and data collection. For kids aged 10, 11, or 12, it’s still risky without a parent’s active monitoring.
Is CapCut safe for 13-year-olds? It is safer for this age group, but parental guidance is still a good idea.
What Age is Appropriate For Using CapCut?
The app says kids must be at least 13 years old to use it.
If your child is younger, you should think about their age and how grown-up they are. Parents need to watch how their kids use the app. This can help keep them safe. You should choose what is best for your child.
Your child may not be ready if they cannot use the app safely on their own.
Does CapCut Have Messaging Or Chat Features?
No, CapCut does not have any features for direct messaging or chatting with other users.
Can Kids Post Videos Directly From CapCut?
No. Kids can edit videos in CapCut, but they must export them and then post them on other social media platforms like TikTok or YouTube.
Are There Inappropriate Templates In CapCut?
Yes. Many templates are made by users. This means kids might see some that are not right for them.
Some templates may show grown-up themes. Some may have bad words or things that are not good for kids to see.
There can also be other content that is not safe for children. Parents should know about these risks before letting kids use CapCut.
Is There Parental Control in CapCut?
CapCut does not have any controls for parents. The app does not let parents block content for kids. There are no tools to help moms and dads limit what children see. You cannot set rules for how much time kids spend on CapCut. The app is missing built-in safety steps that make it easier for parents to keep children safe. Parents do not have a choice to change or limit how the app works for kids.
Does CapCut Collect User Data?
Yes. CapCut gets user data like your IP address and where you are. It also learns how you use the app. This is shown in the privacy rules.
Is CapCut A Social Media App?
No, it is a video editing app. However, its connection to TikTok and its library of user-generated content give it some social media-like features.
Can Children Use CapCut Without Creating an Account?
Children can use CapCut for simple video editing even if they do not make an account. This way is safer for kids. It stops them from seeing many online templates. It also helps keep their personal data safe because less information is taken.
Parents should know this makes CapCut better for young users. Kids get to create videos and stay safe at the same time.
How Can I Make CapCut Safer For My Child?
Talk to them about online safety, set screen time limits, regularly check their projects, and consider sharing an account to monitor their activity.
Is CapCut owned by TikTok?
Yes, CapCut is owned by ByteDance, the same parent company as TikTok. This is why their features and content trends are often linked.
Where Can Kids Learn to Use CapCut Safely and Creatively?
Many easy guides on YouTube are made for new users.
Parents can watch these with their kids. They can learn advanced tricks, such as how to use green screen on CapCut, to make their videos look professional. It helps them create fun and good projects.
Parents and children can share ideas and make things as a team. This way, both learn and enjoy at the same time.
Conclusion
So, is CapCut safe for kids? The answer isn’t a simple yes or no. CapCut is a powerful and free video editor that can be a wonderful creative outlet for older children. However, the risk of exposure to inappropriate content through its template library and its significant data privacy concerns cannot be ignored. The app has no real age verification or parental controls, putting the responsibility entirely on parents.
With careful parental guidance, open communication about online safety, and active monitoring, CapCut can be used in a positive way.
For parents of younger children or those who are not able to monitor usage closely, choosing a safer video editing app from the alternatives listed above may be the better decision.